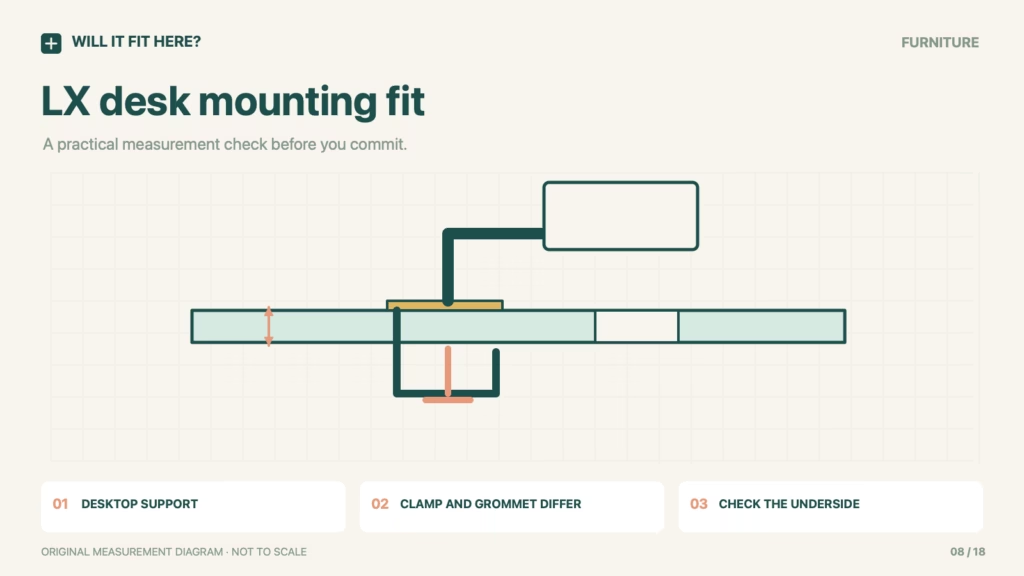
Fit verdict — Conditional. Ergotron LX fit starts at the desk, before monitor reach or screen size. For the LX 45-241 family’s specified two-piece mounting arrangement, Ergotron lists a clamp range of 0.4–2.4 inches of desktop thickness. The grommet option uses an 8–50 mm hole and a surface up to 2.25 inches thick. Identify the exact part and mounting hardware; dimensions for a newer LX Pro or another clamp are not automatically interchangeable.
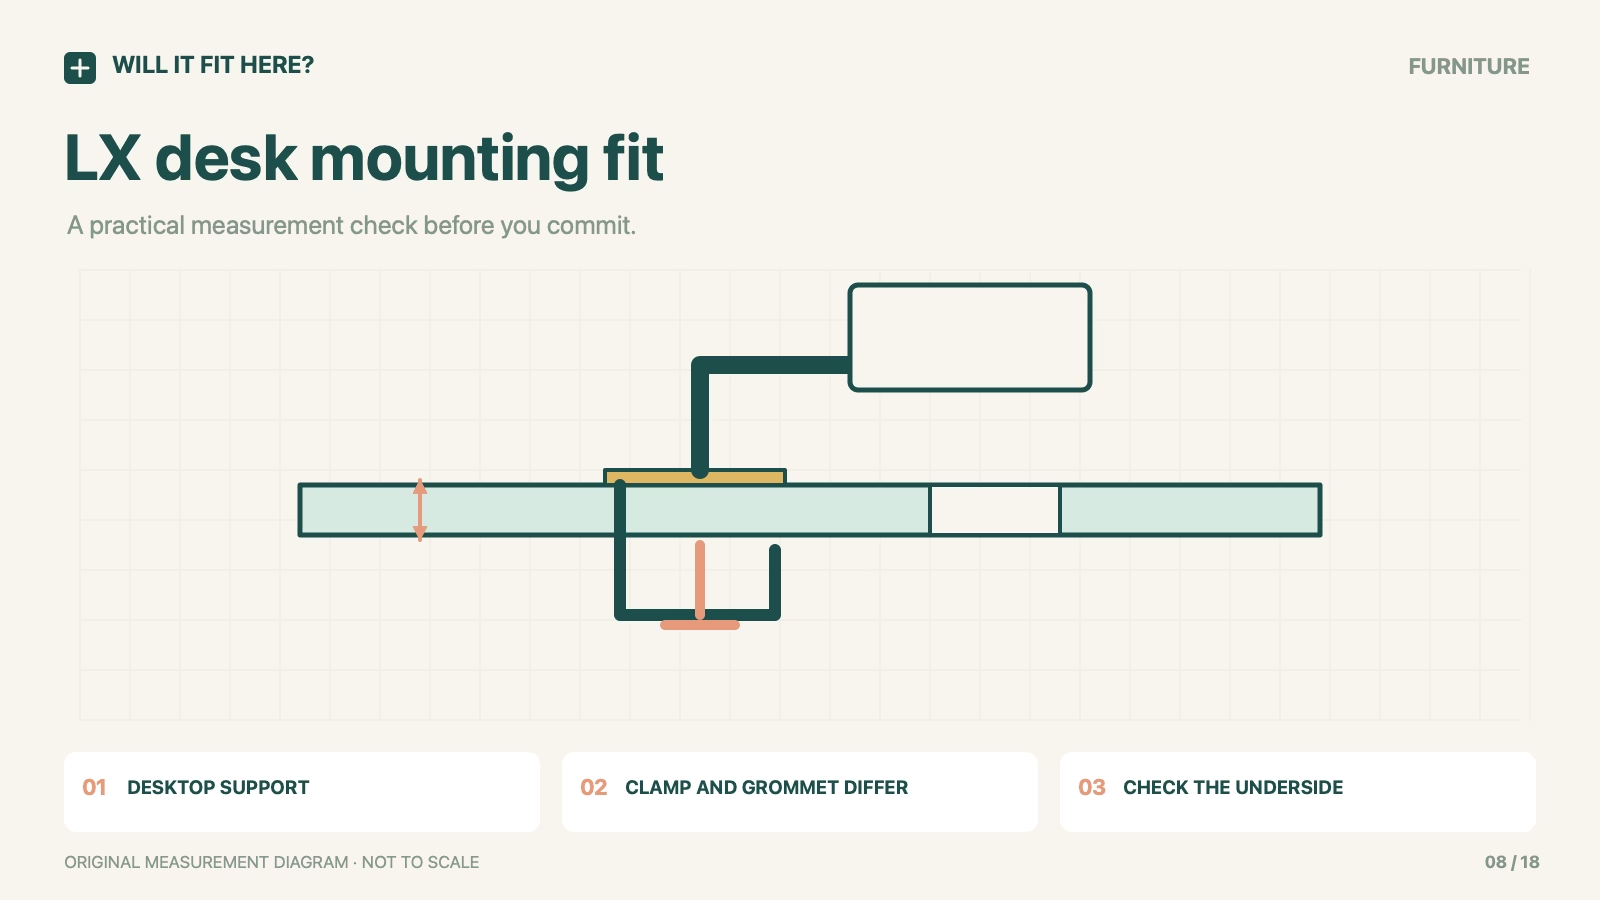
Ergotron LX fit: scope
Ergotron LX 45-241-224 with its specified two-piece clamp and grommet arrangement. Verify supplied hardware, regional revision and the desktop maker’s guidance.
Dimensions and conditions
| Check | Reference or condition | What it means |
|---|---|---|
| Desk-clamp thickness | 0.4–2.4 in / 10–60 mm | Measure the load-bearing mounting edge. |
| Grommet hole | 0.31–2 in / 8–50 mm | A cable opening is not automatically a supported mounting point. |
| Grommet surface thickness | Up to 2.25 in / 57 mm | Do not apply the clamp maximum to this option. |
| Desk construction | Approved supporting surface required | Glass, hollow cores and unsupported edges need specific approval. |
| Under-desk access | Check plate, fasteners and adjustment room | Thickness alone does not clear an apron or cable tray. |
1. Inspect the desk underside for the Ergotron LX mount
Look below the mounting position for an apron, drawer, rail or cable tray. Measure the material against which the upper and lower mounting surfaces will actually bear. A decorative lip can make the visible edge seem suitable while leaving the lower plate partly unsupported. Do not use extra tightening to solve a shape mismatch. Confirm that the desk manufacturer permits this type of concentrated mounting load at the chosen location.
2. Treat clamp and grommet as separate plans
Draw the two options independently. For a clamp, show the edge, lower plate and adjustment access. For a grommet, show the hole and supporting material around and beneath it. An existing cable opening is convenient only if the complete installation is allowed there. Keep the exact arm part number with its hardware instructions; an online photo of a similar LX arm is not a reliable hardware identification method.
3. Check the working movement after the base
Once the desk mounting method is established, assess the monitor’s approved weight and VESA arrangement separately. Plan the arm sweep relative to a wall, shelf and neighbouring display. Route cables through the intended range with room to move naturally. A good parked position does not establish that the monitor reaches its working position without a collision or cable strain. A static desk-edge calculation is not a complete structural approval.
Before you decide: 5 checks
- Record the exact arm part number and supplied hardware.
- Measure desktop thickness at the supporting faces, not only the visible lip.
- Inspect underside obstructions and verify desk load approval.
- Check hole size and support separately for a grommet installation.
- Verify monitor compatibility, sweep and cable movement after the base plan.
FAQ
Can a 2.4-inch desktop use the grommet mount because the clamp allows it?
Not from these specifications. The grommet surface limit is different; use the range for the actual mounting method.
Can I clamp to any hollow desktop within the range?
No. Thickness does not establish material strength or approval for a concentrated load.
Are all LX and LX Pro clamps identical?
No. Identify the exact arm and mounting revision instead of borrowing another product’s range.
Official sources and scope
Checked on 26 October 2026. The cited product, variant and region control. Follow the matching current instructions. The measurement workflow is editorial guidance; no firsthand installation or universal fit is claimed.