Fit verdict: The XGIMI MoGo 4 is listed with a bottom 1/4-inch mounting thread, but that thread alone does not approve every camera tripod. The stand must support the projector, engage correctly and remain stable with the cables and tilt you intend to use.
This is a portable stand interface check for MoGo 4, not a claim that a ceiling bracket or unknown screw is safe. MoGo 4 Laser and older MoGo models have separate specifications even when a mounting interface is shared.
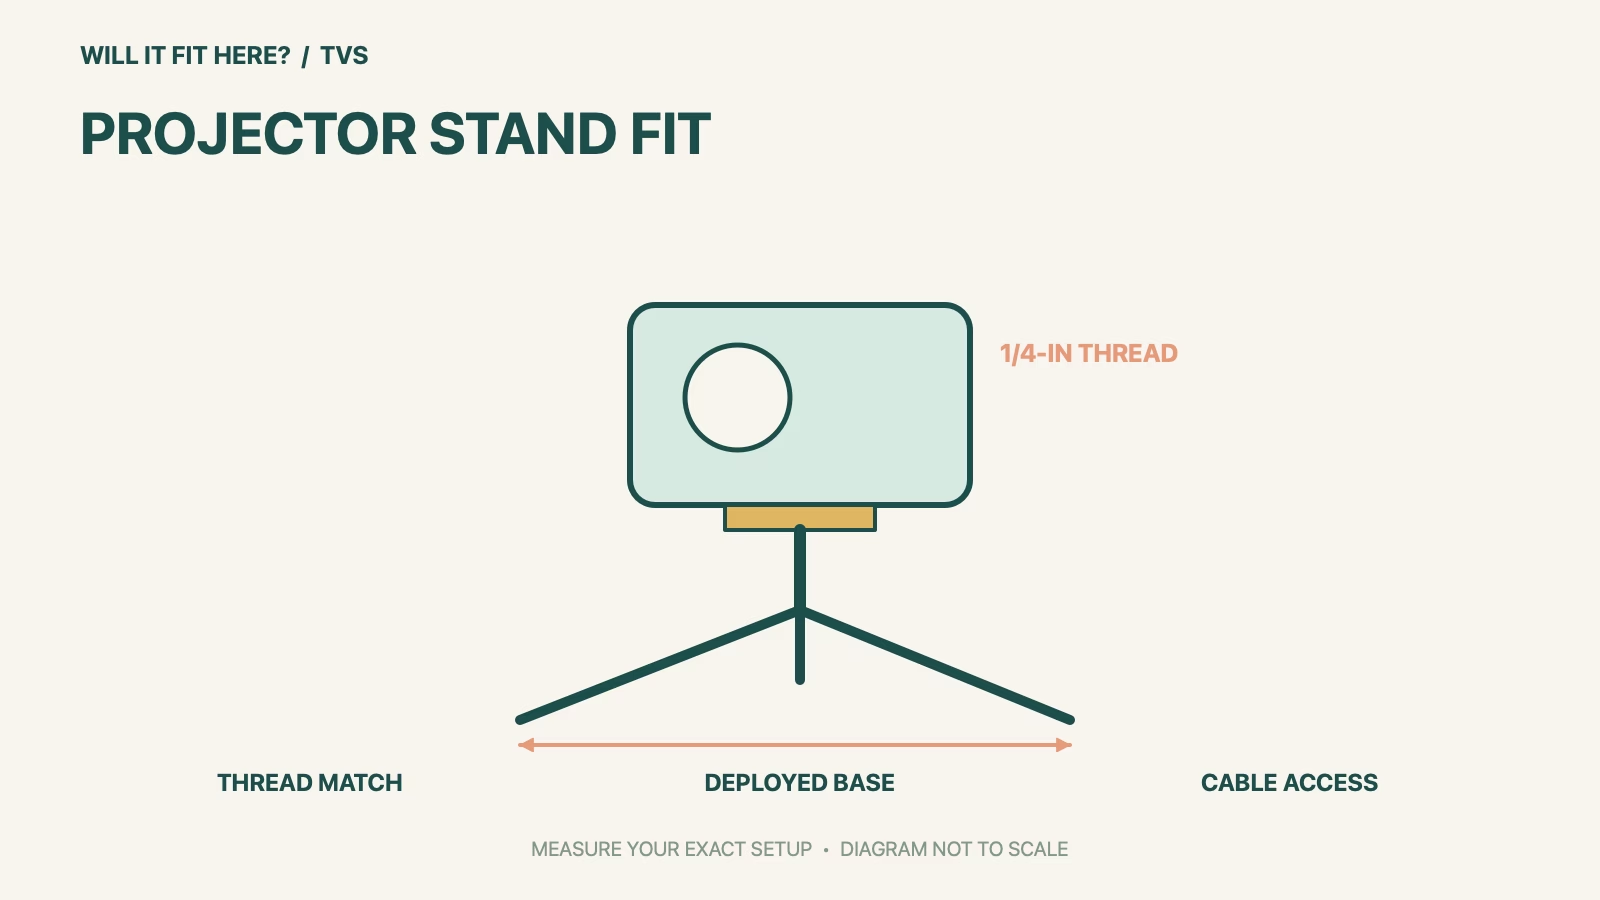
Dimensions and conditions
| Check | Official reference | What to verify |
|---|---|---|
| Projector thread | 1/4-inch, listed by XGIMI for MoGo 4 | Check the actual mounting socket and model. |
| Example stand interface | XGIMI Light Gold stand: 1/4-inch screw | Confirm its current supported-model details. |
| Stand load | Must support the complete projector setup | Use a stated rating, not visual similarity. |
| Screw engagement | Follow projector and stand instructions | Do not invent a universal screw insertion depth. |
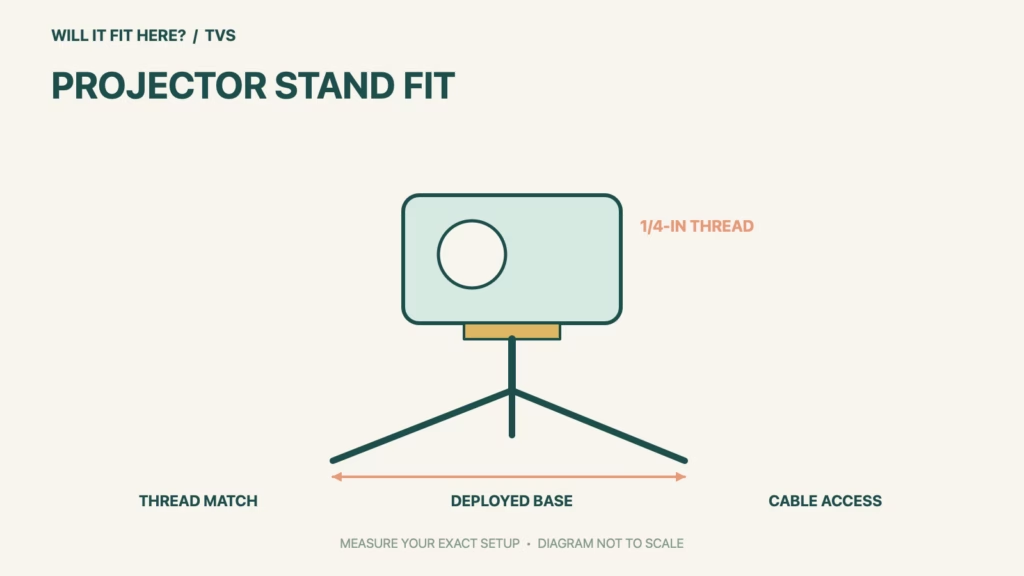
| Operating footprint | Include legs, tilt and power lead | A small projector body does not imply a small stand footprint. |
1. Match the XGIMI MoGo 4 mounting interface
XGIMI’s mounting guide lists MoGo 4 among models with a bottom quarter-inch thread. Inspect that socket with the unit switched off and follow its instructions. A screw that starts to turn is not a depth gauge. Check the mounting plate’s contact surface, any washers required by the approved stand and the way the projector’s integrated support clears the head. Stop if the plate bears against an unintended part of the housing.
2. Check the base and center of support
Open the stand exactly as its manufacturer instructs and measure the full leg spread on the intended floor or table. Keep all support points on a level, stable surface. The projector’s tilted position and connected lead can change the practical balance compared with an empty tripod. Do not put one leg over the edge to reduce the footprint. Check the stand’s stated capacity and permitted orientation before committing to the arrangement.
3. Allow access to rotation, ports and airflow
The attachment must not block vents, the lens or the movement you need for the image. Position the actual cable and leave an accessible route without pulling the projector off balance. Check the view from the seated position and the walking path around the stand. If the stand only fits with its legs partly folded or with a lead stretched across an exit, choose a different position or a suitable support.
Before you decide: 5 checks
- Confirm the projector label says MoGo 4.
- Verify the stand’s interface and supported load.
- Check the specified screw engagement without forcing it.
- Measure the fully deployed base at the intended tilt.
- Test ports, airflow and cable movement before viewing.
Keep a short XGIMI MoGo 4 fit record with the exact product or service identity, the official rule you checked and the measurements from your own setup. Mark anything you could not verify as unresolved. Recheck the record if the product, accessories, route or surrounding space changes; an earlier fit result belongs to the configuration that was actually checked.
FAQ
Does a 1/4-inch screw guarantee XGIMI MoGo 4 compatibility?
No. Thread size is only one condition; plate contact, engagement, load and stability also matter.
Can I use a ceiling-mount guide to choose any tripod?
Use it for the interface fact, then verify the tripod and projector instructions for the proposed support.
Can I reduce the footprint by folding a leg?
Use the stand in its instructed stable configuration. A partly deployed support is not an equivalent fit.
Related fit guides
Continue with Sonos Era 300 Fit: 5 Open-Shelf Placement Checks or browse TVs fit guides. Check each item against its own specifications; a related guide does not establish this product’s compatibility.
Official sources
- XGIMI mounting-interface guide including MoGo 4
- XGIMI Light Gold portable stand specifications
- XGIMI MoGo 4 product information
Sources checked 27 October 2026. Measurements and conditions are attributed above; room and packing checks are planning guidance. Recheck the current official instructions before purchase, installation or travel.