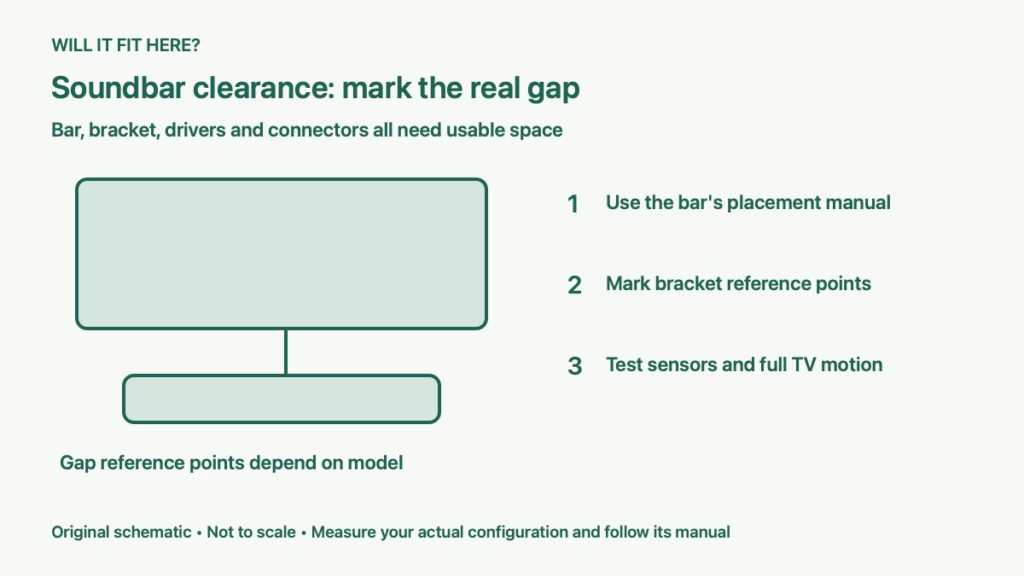
Quick answer: Soundbar clearance below a wall-mounted TV depends on the exact bar’s placement instructions, bracket reference points, speaker directions, connectors and the TV’s movement. Measure from the points named in the manual. A gap that hides the screen edge or blocks upward-firing speakers is not a usable fit, even if the bracket can be attached.
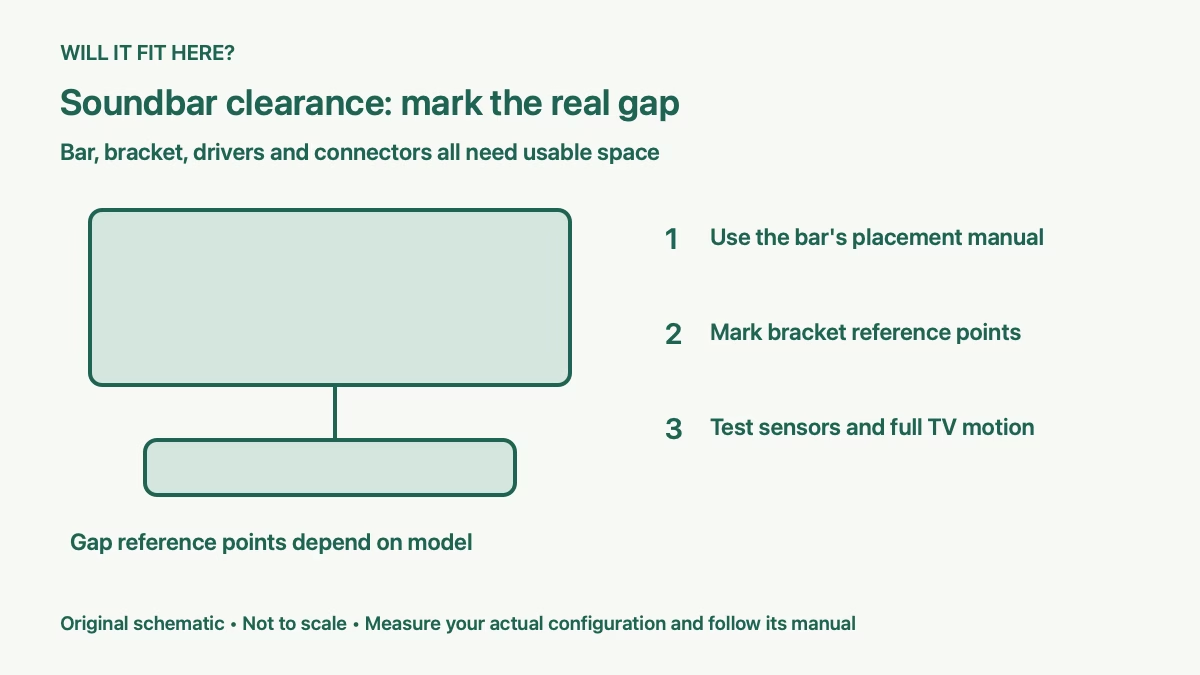
This guide is for a viewer who wants the soundbar on the wall or on a bracket attached to the TV mount. That is a different problem from placing a bar beneath a television standing on its feet. Start with both model numbers and the proposed mounting accessories.
1. Read the soundbar clearance instructions
Find the installation section for your bar, including whether it may be mounted to the wall and which bracket is approved. Note any required top and side space. Some instructions protect acoustic performance as well as physical fit, particularly when the bar has speakers aimed toward the ceiling or walls.
For a specific example, the original Sonos Arc guide specifies at least 4 inches (102 mm) between the top of Arc or Arc SL and the bottom of the TV. Its wall-bracket placement instruction uses a different reference: 5.5 inches (140 mm) from the bracket top to the TV. These are instructions for those products, not a universal soundbar clearance rule.
2. Mark the bracket reference points correctly
Draw the TV’s final lower edge on the wall using a removable tape line. Then follow the soundbar bracket template from that edge. Do not substitute the bar’s overall height for the bracket offset, or measure from a screw hole when the drawing names the bracket top.
Include the bar’s depth and the bracket’s projection. A shallow recess, decorative ledge or television casing can obstruct the bar even when the front view looks tidy. Make a cardboard side profile to show which surface sits farther forward and whether the bar’s drivers remain unobstructed.
3. Verify the complete mount combination
A bracket labelled for soundbars does not automatically fit your bar and TV mount. Confirm its listed models, load limit, attachment method and required hardware. Check whether adding it changes the permitted combined load or the television mount’s installation arrangement.
The SANUS WSSATM1 page, for example, describes a TV-mount attachment intended for Sonos Arc and Arc Ultra. That model-specific accessory description is a starting point for compatibility checks, not permission to attach every bar to every mount. Keep the mount’s instructions and the accessory instructions together.
If you are also replacing the screen, use our existing mount and new TV checklist before deciding on the extra accessory.
4. Include connectors, sensors and TV motion
Connect the required power and HDMI cables before final positioning where the instructions call for it. Keep their plugs and relaxed bends within the planned soundbar clearance envelope. Confirm that the television has the appropriate audio connection and that the selected cable reaches without tension.
Test the TV remote from normal seating positions. A bar placed directly against the lower bezel may cover a receiver, indicator or control. Also check any camera or accessory. If the soundbar moves with the TV, test the full permitted tilt, swivel and extension; if it stays on the wall, check that the screen cannot swing into it.
Our rear cable-clearance guide helps assess connections that disappear behind the screen.
5. Mock up soundbar clearance before drilling
Tape the bar’s full outline beneath the screen and mark its front projection. Sit where you normally watch. Check that you can see the complete picture, use the controls and reach connections for service. Keep any manual-required acoustic gaps instead of narrowing them for appearance.
Record five results: approved bar and bracket, correct template offset, unobstructed drivers, working controls and free motion. A problem with one of these needs a changed mounting arrangement, not just a different screw position. Have the installation assessed when the wall construction or combined mounting instructions are unclear.
Decision: Soundbar clearance passes when the exact product instructions and the real installed geometry agree. The shortest possible gap is not the goal; the useful gap lets the screen, audio system, cables and mount all work as intended.