MULIG Clothes Rack Fit is easy to underestimate when you measure only its metal frame. Hangers, winter coats and the motion used to remove a shirt can extend beyond the listed footprint. This guide covers IKEA’s white US clothes rack, article 601.794.34, and explains how to plan a bedroom niche around the loaded rack rather than an empty product drawing.
MULIG Clothes Rack Fit: the quick verdict
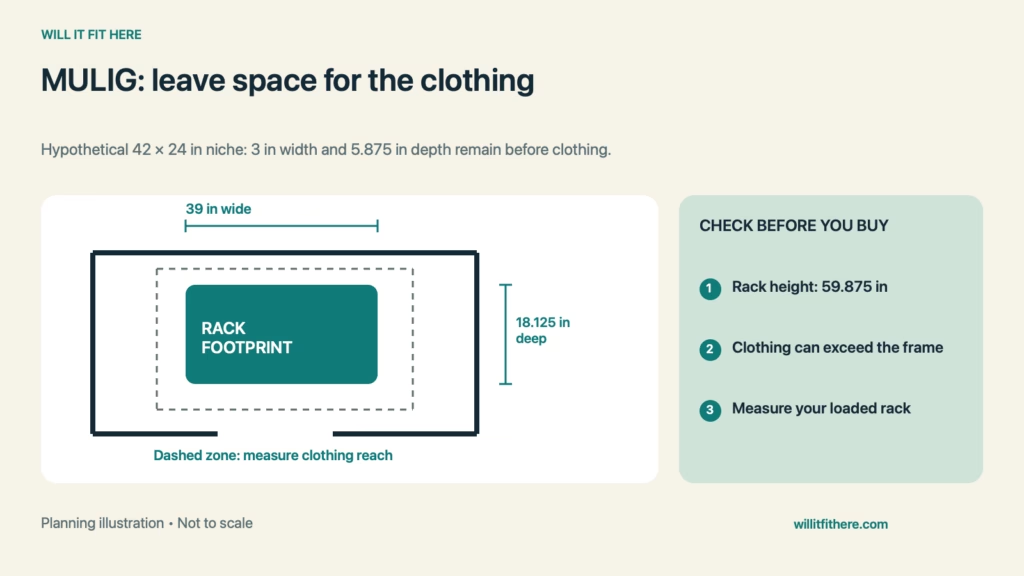
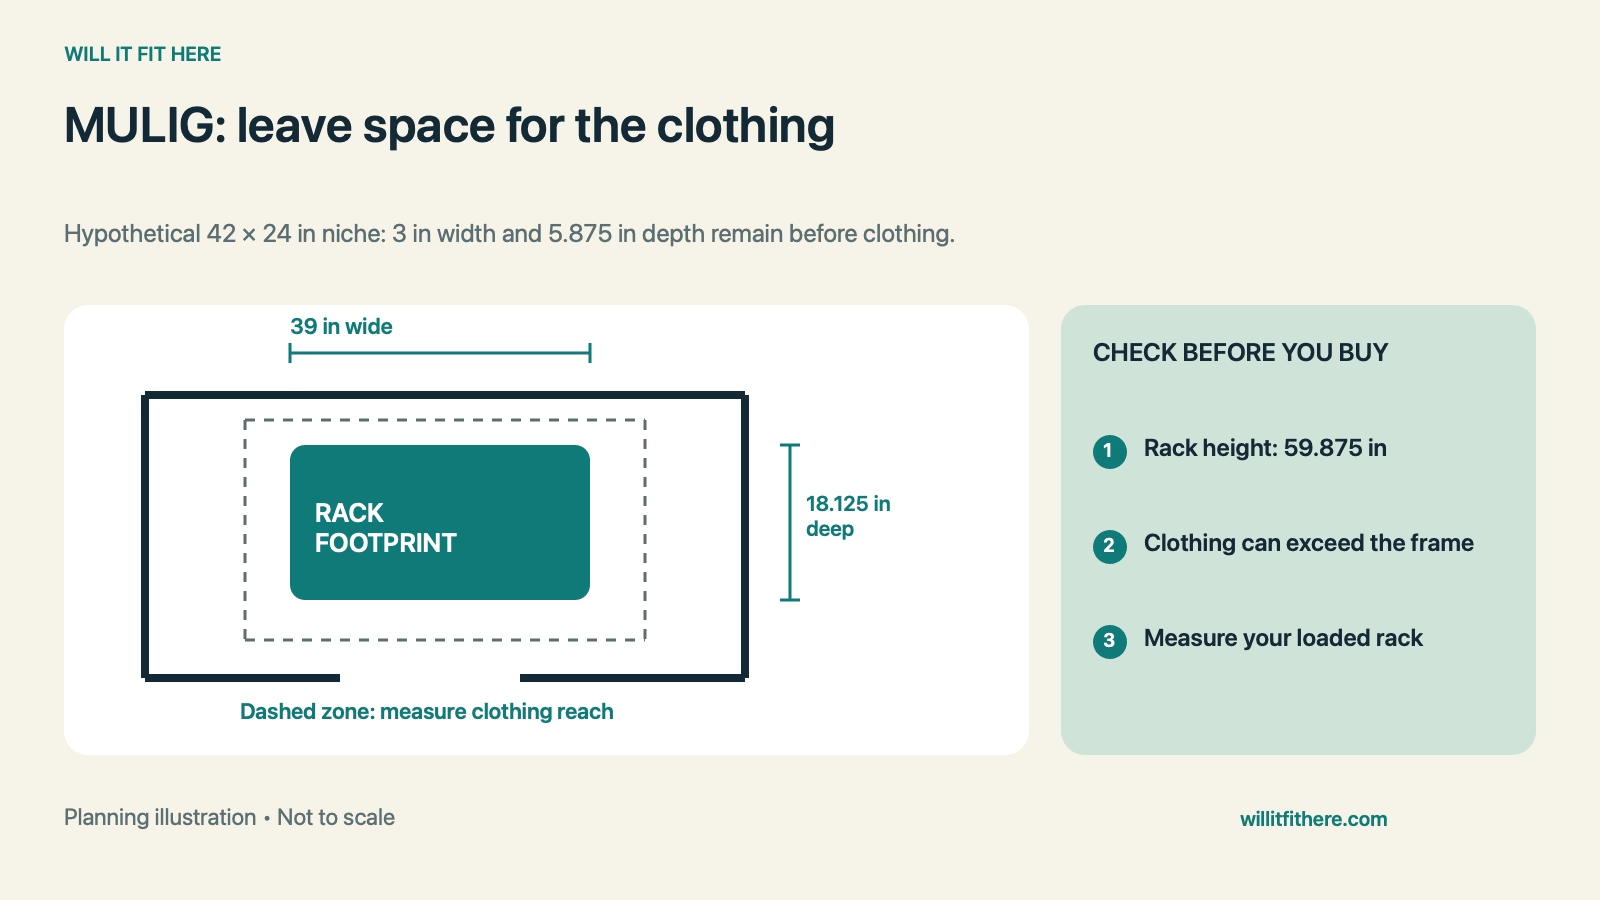
The rack is a possible fit when its feet sit completely within the chosen area and your actual clothes can hang without pressing against surrounding surfaces. You also need a practical way to lift hangers off the rail. The examples below are hypothetical. They do not establish a required clearance, a clothing capacity or a tested room layout.
| Measurement | Published size or example |
|---|---|
| Rack width | 39 inches |
| Rack depth | 18⅛ inches |
| Rack height | 59⅞ inches |
| Listed maximum load | 44 pounds |
| Hypothetical niche width × depth | 42 × 24 inches |
| Unused frame-only width × depth | 3 × 5⅞ inches total |
1. Mark the complete base footprint
Measure the niche between its closest obstructions, including skirting boards and door trim. The available width at shoulder height may differ from the space where the feet stand. Tape out the complete footprint, then confirm that every support point rests on a suitable, level surface.
For the hypothetical 42-inch-wide niche, a 39-inch frame leaves 3 inches total. A 24-inch depth leaves 5⅞ inches beyond the frame depth. These differences are useful for MULIG Clothes Rack Fit, but they are not spare space on every side. Decide where the rack actually sits before assigning any remainder.
2. Measure the loaded clothing envelope
Hang your broadest coat on the hanger you intend to use. Measure its front-to-back extent without compressing sleeves or forcing it flat. Repeat with a garment bag if one will be used. A bare hanger measurement can understate the space occupied by padded clothing.
Try that loaded hanger at the proposed rail location using a temporary support or another existing clothes rail. Check both the wall side and the room side. The base’s depth and the clothing’s depth describe different boundaries, so a passing frame check does not guarantee that coats will remain inside a niche.
3. Include the lift-off movement above the rail
A rack can stand under a shelf while leaving insufficient room to remove a hanger normally. Measure from the rail to the shelf’s lowest obstruction and rehearse the upward movement needed to clear your hanger hook. Do not substitute a generic extra-height number for the hanger you actually use.
MULIG Clothes Rack Fit beneath a sloped ceiling needs measurements at both ends of the rail. Check the entire upper corner of the frame and the loaded hanger, not just the center. Moving the rack outward may solve one height conflict while creating a new intrusion into the bedroom route.
4. Check long garments and weight
Measure from the hanger hook to the bottom of the longest item in your planned arrangement. The rack’s overall height is not the same as clear hanging length below the rail. Account for the hanger, any lower structure and baskets or shoes placed underneath.
IKEA lists a 44-pound maximum load. Do not turn that into a promised number of garments, since a row of shirts weighs differently from a row of heavy coats. Weigh a representative bundle if necessary, follow the assembly instructions and avoid improvised extensions that change the support arrangement.
5. Test the surrounding room while it is loaded
Open the bedroom and wardrobe doors and walk past the loaded-hanger mock-up. MULIG Clothes Rack Fit can change when a sleeve catches a handle or clothing brushes the bed. Rehearse taking one item from the middle of a crowded row, not just removing the nearest hanger.
Include cleaning access and any outlet you still need to reach. Do not use the niche to conceal equipment requiring ventilation or service access. Keep the indoor rack in a location suitable for its instructions, and make the final decision with the room arranged as it will actually be used.
Before-you-buy checklist
- Measure the niche at floor, garment and rail heights.
- Tape the complete frame footprint.
- Test your widest loaded hanger and longest garment.
- Rehearse lifting a hanger beneath nearby shelves.
- Check load, door movement and the occupied route.
FAQ
Is a 19-inch-deep niche enough?
It exceeds the frame depth by only ⅞ inch. Clothing can extend farther than the base, so test the loaded hanger before deciding.
Can I determine capacity from the rail width?
No. Hanger thickness, garment bulk and total weight all affect practical capacity. Leave room to retrieve the clothes you use.
What is the final MULIG Clothes Rack Fit test?
Confirm frame placement, loaded clothing depth and hanger removal together. Then check the room’s doors and normal walking route.
Related fit guides
See ELVARLI ceiling-post planning for another bedroom storage system, and small-bedroom furniture movement for occupied-space planning.
Official source
Checked November 5, 2026: IKEA MULIG clothes rack measurements and assembly information.