Fit verdict — Conditional. An IKEA ELVARLI fit check must match the ceiling-post version to both the local ceiling height and a suitable anchoring arrangement. IKEA’s US measurement tab lists a post range of 87¼–137¾ inches, while its descriptive copy uses 87⅜ inches at the lower end. These are conflicting manufacturer labels, not two interchangeable installation limits. This guide does not confirm fit near either lower-limit figure. Resolve that discrepancy with IKEA for the exact post you will buy before relying on a boundary measurement.
IKEA ELVARLI fit: scope
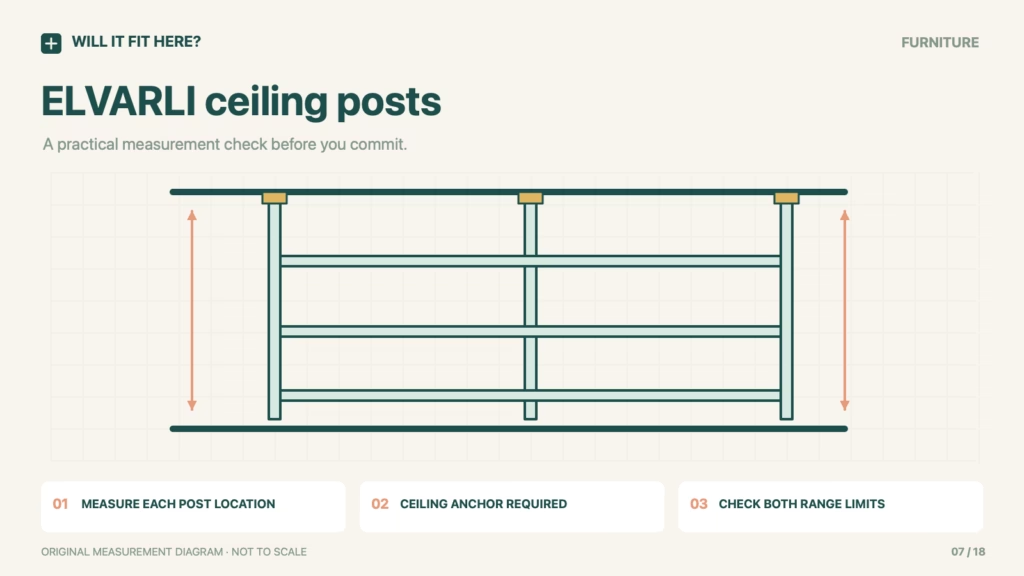
US ELVARLI post 402.961.70. The ceiling-post system and wall-anchored side-unit system are different planning choices.
Dimensions and conditions
| Check | Reference or condition | What it means |
|---|---|---|
| US measurement-tab range | 87¼–137¾ in | Source label only, not a verified installation limit; descriptive copy differs at the lower end. |
| Buying-guide reference | 222–350 cm for ceiling posts | Rounded units do not define a tighter manufacturing tolerance. |
| Attachment | Post must be secured to the ceiling | Not a pressure-only, no-drill installation. |
| Local ceiling | Measure at every proposed post position | A room average can miss a slope or beam. |
| Interiors and brackets | Use specified ELVARLI components | Post height alone does not establish shelf compatibility. |
1. Choose the correct IKEA ELVARLI base system
Identify whether the plan uses ceiling posts or side units anchored to the wall. Similar-looking shelves do not make those bases interchangeable. List the chosen components before marking the room. For a ceiling-post layout, record the ceiling construction as well as its height. A height measurement alone cannot establish whether the intended fastening can be installed correctly. Follow IKEA’s anchoring instructions and obtain appropriate installation advice where the substrate is uncertain.
2. Measure each post location independently
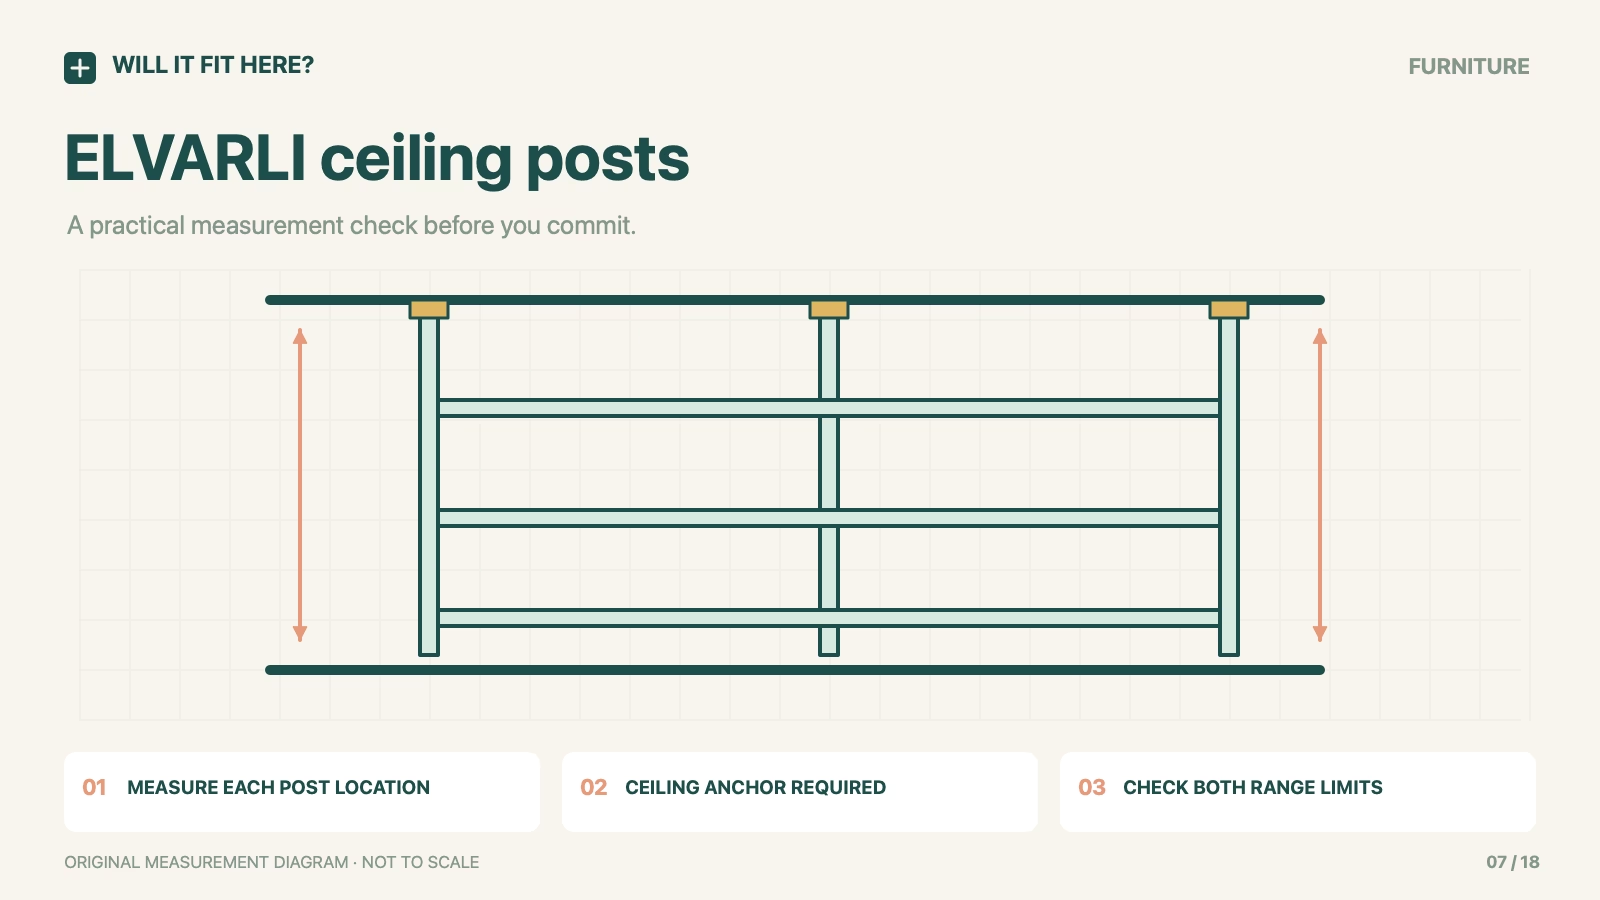
Mark the proposed post centers on the floor, then measure vertically to the actual ceiling at each point. Note lowered bulkheads, ceiling slopes and changes in floor level. Keep the tape vertical so a diagonal reading does not make a short room appear taller. Retain the separate measurements rather than averaging them into one room height. Near either adjustment boundary, verify the actual article and matching instructions before ordering the whole layout.
3. Plan the useful storage around the posts
Plot the assembled shelf and hanging arrangement with door swings, radiators and nearby furniture. A post system can be dimensionally plausible while hanging clothes obstruct access or the top shelves are hard to reach. Mark the working depth with a temporary floor outline and assess the approach to each bay. Include the delivery route for the long packaged posts and space for the instructed assembly process. Ceiling reach and a usable storage layout are separate checks.
Before you decide: 5 checks
- Identify ceiling posts rather than assuming every ELVARLI arrangement has the same base.
- Measure height at each proposed post center.
- Flag any height near the listed minimum or maximum for confirmation.
- Confirm the ceiling substrate and required anchoring arrangement.
- Check shelves, hanging depth, access and the delivery route together.
FAQ
Is ELVARLI a no-drill tension pole?
Do not assume that. IKEA instructs users to secure the post to the ceiling using suitable fasteners.
Which lower-height number should I use for a close fit?
The listing contains a small difference between its measurement tab and descriptive copy. Confirm the actual current post with IKEA instead of choosing the favourable number.
Can a sloped ceiling be treated as its average height?
No. Assess each mounting position using a manufacturer-approved arrangement for that ceiling.
Official sources and scope
Checked on 26 October 2026. The cited product, variant and region control. Follow the matching current instructions. The measurement workflow is editorial guidance; no firsthand installation or universal fit is claimed.