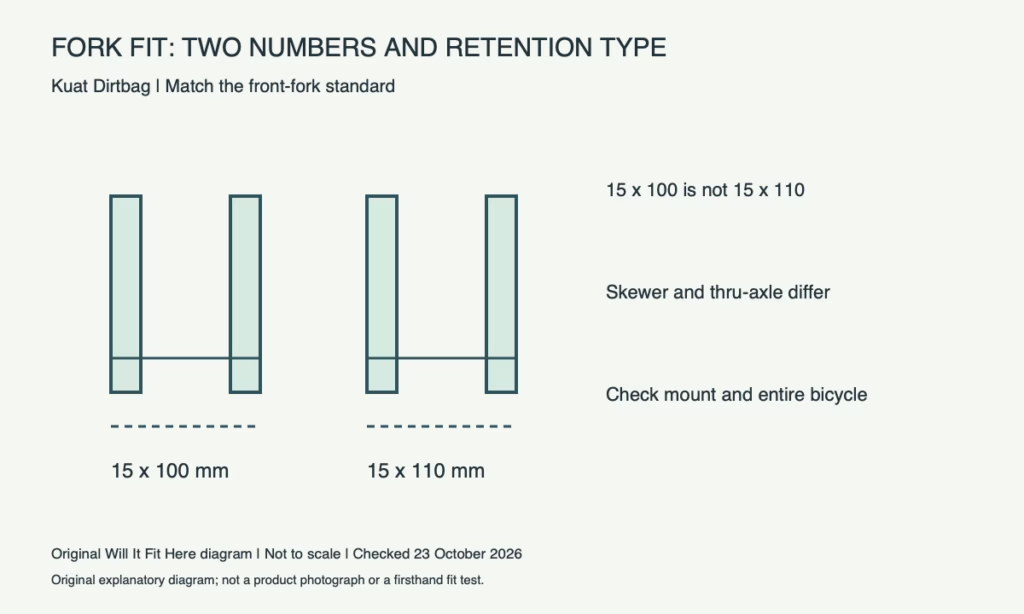
Result — Conditional. A Kuat Dirtbag must match the fork’s axle standard, including both diameter and spacing. A 15 × 100 mm fork and a 15 × 110 mm fork require different listed variants. The correct axle interface still does not establish that the mount is properly secured to your vehicle or that the whole bicycle clears its surroundings.
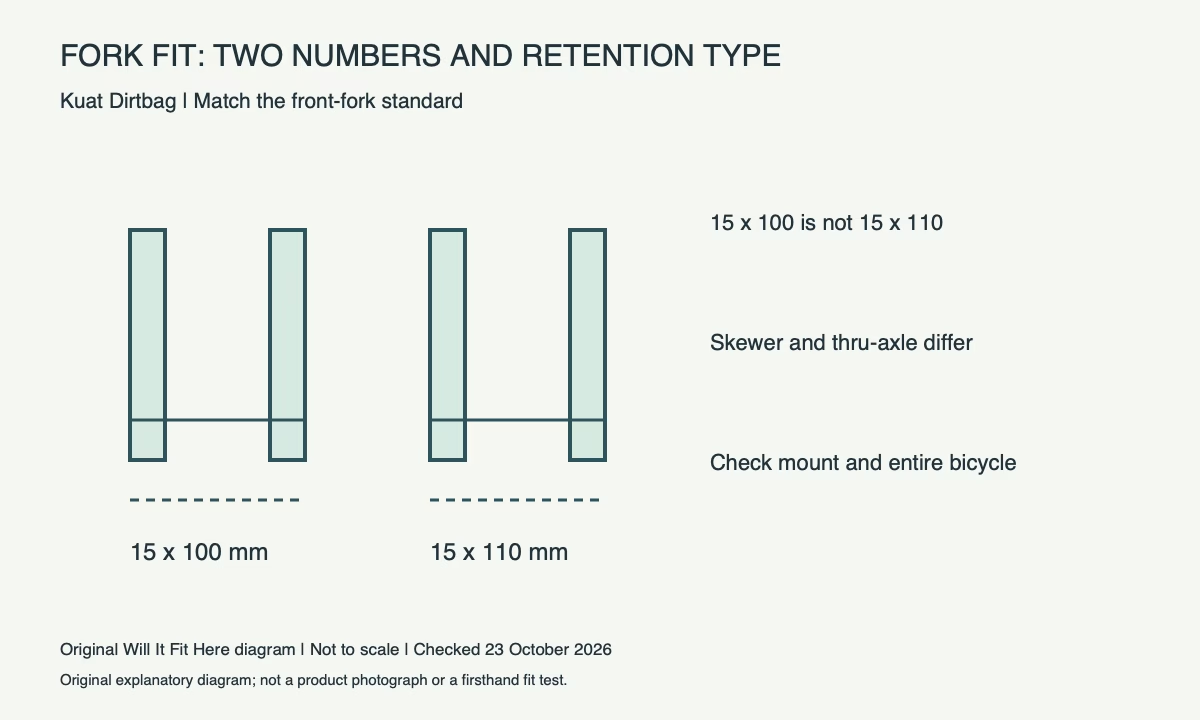
1. Identify your Kuat Dirtbag variant
Use the actual fork manufacturer’s specification for the exact model and year, then compare it with the mount SKU. Do not select a fork mount using wheel diameter or the rear hub specification. The current manufacturer page lists eight variants, including skewer and thru-axle versions. Photograph the fork and existing axle identification before ordering; the bike’s marketing name alone may not identify changes made by a previous owner.
2. Dimensions: read both axle numbers
In a size such as 15 × 110 mm, the numbers describe different parts of the interface. Matching the first number does not resolve a mismatch in the second. Confirm the manufacturer’s full front-fork standard rather than measuring the total removable axle length and treating it as hub spacing. The sample comparison below is an identification aid, not a complete compatibility chart for every fork. Ask the fork or rack maker to resolve an unclear standard before installation.
| Example front standard | Listed matching mount | Mismatch to avoid |
|---|---|---|
| 9 × 100 mm skewer | DRT9x100 | Not the same as 12 × 100 thru-axle |
| 12 × 100 mm thru-axle | DRT12x100 | Diameter differs from 15 mm |
| 15 × 100 mm thru-axle | DRT15x100 | Not 15 × 110 Boost spacing |
| 15 × 110 mm thru-axle | DRT15x110 | Not a universal 110 mm mount |
3. Distinguish a skewer from a thru-axle
Kuat lists 9 × 100 and 9 × 135 variants as skewer arrangements, while the listed 12 × 100, 15 mm and 20 × 110 variants are thru-axle arrangements. Follow the specific retention procedure for the chosen version and the bicycle. A rod that can pass through a hole is not proof of intended clamping or retention. Do not enlarge the mount, add a loose sleeve or borrow unrelated hardware to hide an interface mismatch.
4. Check the mounting surface before drilling
The manufacturer describes bolting the mount to a suitable surface. “Suitable” still needs an assessment of the actual truck bed, platform or other permitted location, its backing and its fastening arrangement. Place a paper template at the proposed location to inspect edge distance, underside access and interference, then use the product drawing and instructions for real dimensions. A visually flat panel does not by itself establish adequate support. Resolve structural and hardware questions before making holes in a vehicle.
5. Plan the whole bicycle and loading motion
Removing the front wheel changes the bicycle’s transport envelope. Sketch the fork-mount position together with the rear tire, handlebar width, saddle and any remaining accessories. Check a closed tailgate or hatch, neighbouring bikes and the path used to lower the fork onto the mount. Keep the removed wheel secured separately. For a close arrangement, use a light mock-up to plan the space first; final retention and transport checks must use the real approved installation.
Before you decide
- Read the exact front-fork and axle specification.
- Match diameter, spacing, retention type and mount SKU.
- Verify the mounting surface and specified fasteners.
- Check the entire bicycle, loading motion and removed wheel storage.
FAQ
Can a 15 × 100 mount take a 15 × 110 fork?
Do not assume so. Kuat lists separate variants. Confirm the exact manufacturer-approved arrangement instead of forcing the fork.
Does matching the wheel size identify the mount?
No. Different axle standards can be used with the same wheel diameter. Use the front-fork specification.
Official sources and scope
Checked on 23 October 2026. These references apply to the identified product, version and region. Follow its matching current instructions. Any worked measurement example is hypothetical.