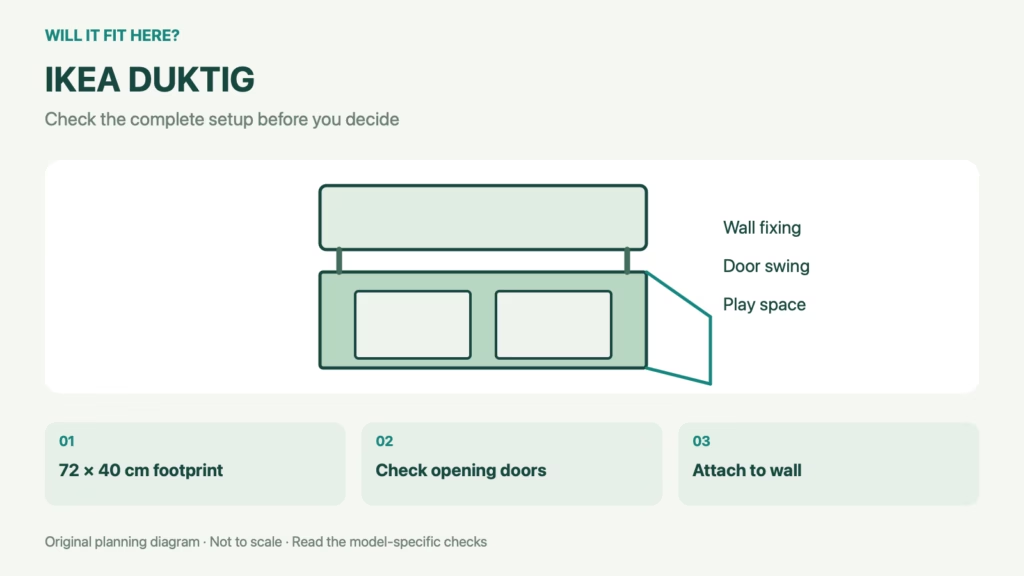
Fit verdict: The IKEA DUKTIG play kitchen examined here has a listed size of 28⅜ × 15¾ × 42⅞ inches, corresponding to the nominal 72 × 40 × 109 cm model. Its closed footprint is only the starting point. Plan the required wall attachment, door movement and usable play space before placing it in a small room.
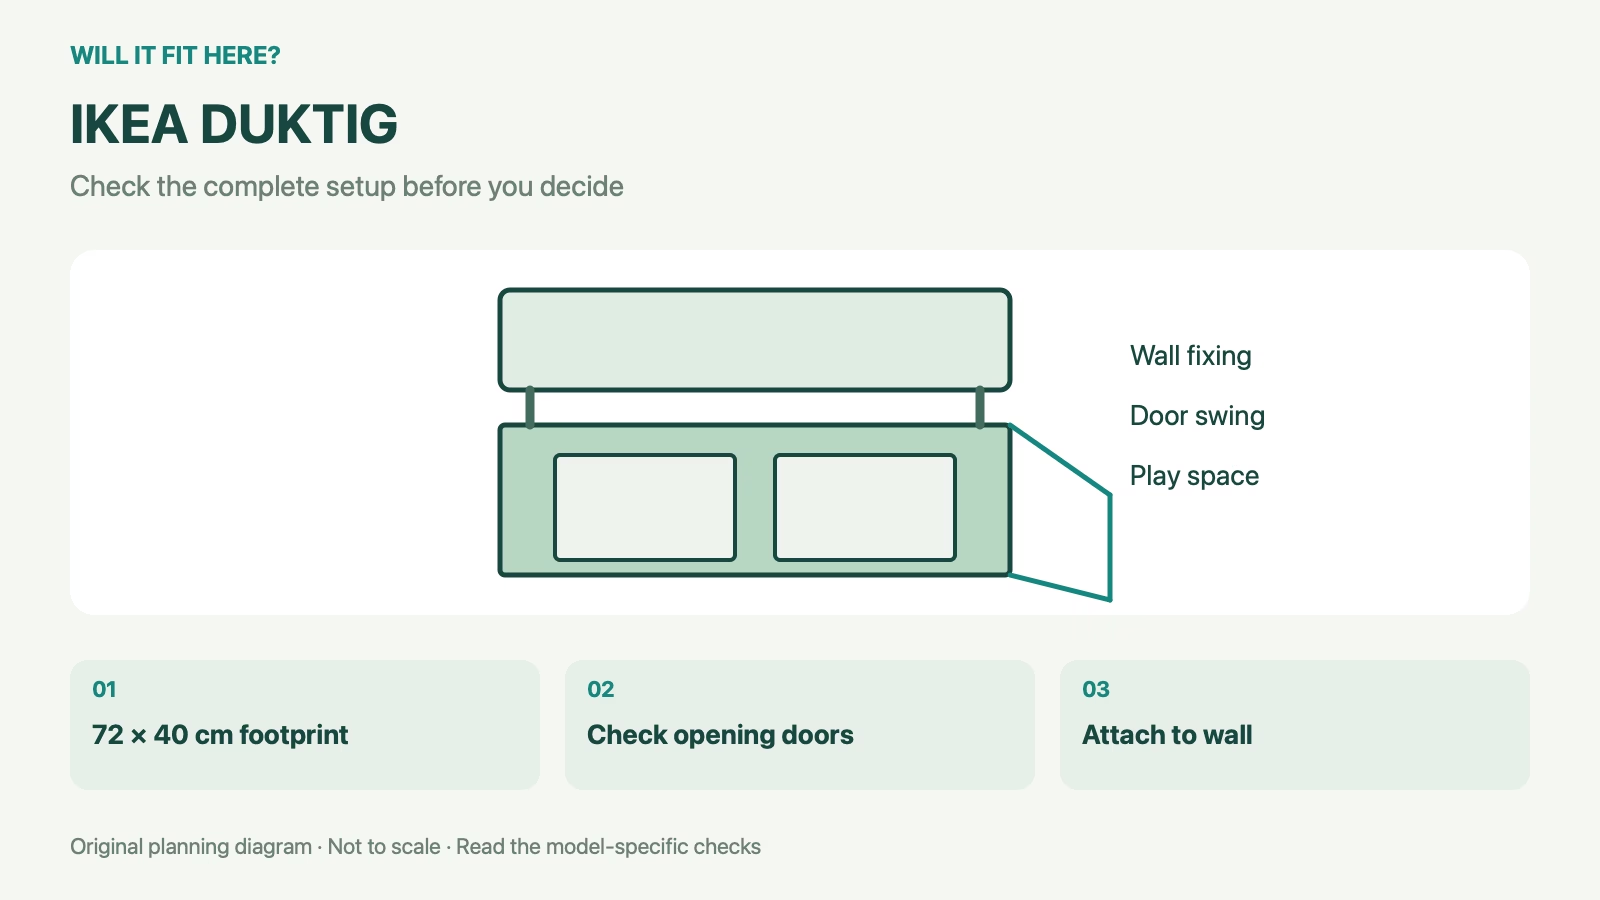
Dimensions and conditions
| Check | Reference | What it means |
|---|---|---|
| Referenced article | 603.199.72 | Check your market’s current version |
| Listed overall size | 28⅜ × 15¾ × 42⅞ in | Width × depth × height |
| Installation requirement | Use the supplied wall-attachment device | Choose fixings suitable for the wall |
1. Mark the IKEA DUKTIG footprint at the wall
Measure the wall section where the kitchen will be installed and include baseboards or other projections. Tape out the complete width and depth so that the front edge is visible on the floor. Check the room door’s swing and the route past the kitchen. A plan that only works with the room door shut is different from one that remains convenient during daily use. Avoid treating unused floor space in a photograph as a verified play area.
2. Keep doors and play activity in the plan
The play kitchen has opening doors, so measure their actual movement and leave room for the user to stand or sit in front. This article does not assign a universal minimum play aisle; household layouts and activity differ. Instead, make a practical mock-up of the intended front area and test access to nearby storage. Keep baskets or stools out of the moving-door envelope. If two children will use the kitchen together, test that intended arrangement rather than a single-person pose.
3. Confirm the attachment position before final placement
The assembly instructions require the supplied wall-attachment device to prevent tipping. Check that the chosen location permits the specified attachment and use wall fixings suitable for the wall material. Do not make freestanding placement the solution to an inconvenient wall. IKEA describes three leg-height positions, so follow the selected assembly setting and verify the finished height. Keep the finished setup consistent with the product’s safety and age guidance, and recheck it after relocating the kitchen.
4. Keep a IKEA DUKTIG fit record
Keep a room sketch showing the attachment wall, nearby door swing and the area used for play. Include the chosen leg-height setting and any storage bins nearby. Review the layout when furniture is moved or a larger storage basket is added. A change outside the kitchen itself can reduce access or obstruct a door that previously opened freely.
IKEA DUKTIG: a worked fit example
Example: a 90 cm-wide wall section is wider than the nominal 72 cm unit, leaving 18 cm total horizontally. It does not establish that the room door clears the kitchen’s 40 cm depth or that the wall attachment can be installed. Draw those features on the same plan before deciding the location works.
Before you decide: 5 checks
- Match article and overall dimensions.
- Tape the full footprint against the intended wall.
- Test the room door and play-kitchen doors.
- Reserve practical play and storage access.
- Install the required wall attachment correctly.
FAQ
Does the closed footprint describe the whole play area?
No. Include opening doors and space for the intended activity.
Can it stand away from a wall to save space?
Follow the assembly instructions, which require the provided wall-attachment device.
Can I rely on the box dimensions?
No. Use the assembled model and chosen leg-height configuration.
Related fit guides
- Bed and Desk in a Small Bedroom: Check Chair Clearance
- Fellow Aiden Fit: 5 Open-Lid Cabinet Checks
- Rooms fit guides
Sources
- IKEA DUKTIG 603.199.72 product information
- IKEA DUKTIG assembly instructions and wall-attachment requirement
Sources checked 3 November 2026. Product-specific facts are attributed above. Worked examples and measuring methods are planning guidance; example dimensions are not product specifications. Recheck the exact model or current travel policy before acting.