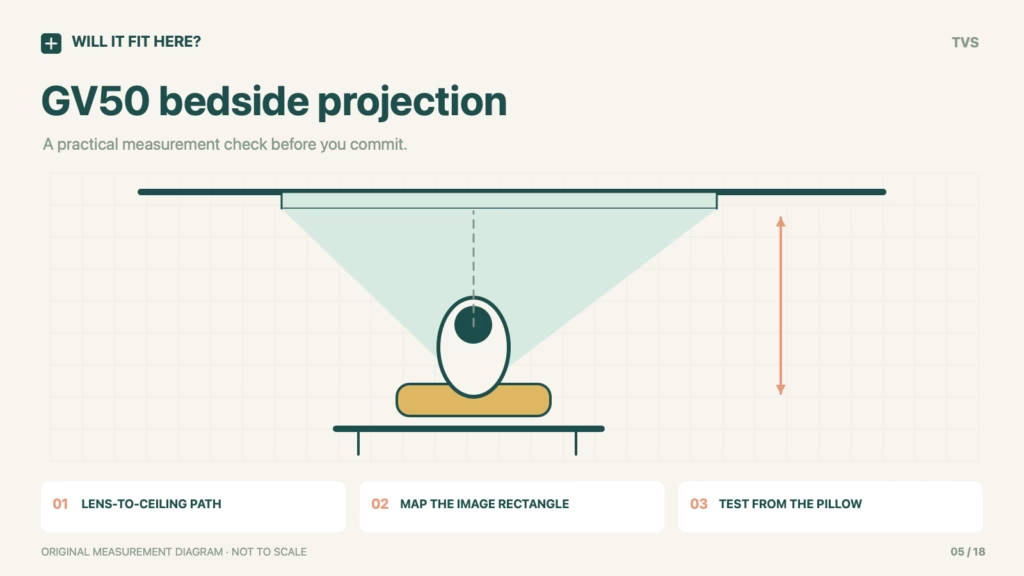
Fit verdict — Conditional. BenQ GV50 ceiling fit depends on the distance from the lens to the ceiling image and the unobstructed area available for that image. BenQ lists a fixed 1.2 throw ratio; its manual gives an approximate 2,657 mm projection distance for a 100-inch 16:9 image. That distance is measured from the lens along the projection path, not from the bedside-table surface. A small projector body does not make every ceiling a 100-inch screen.
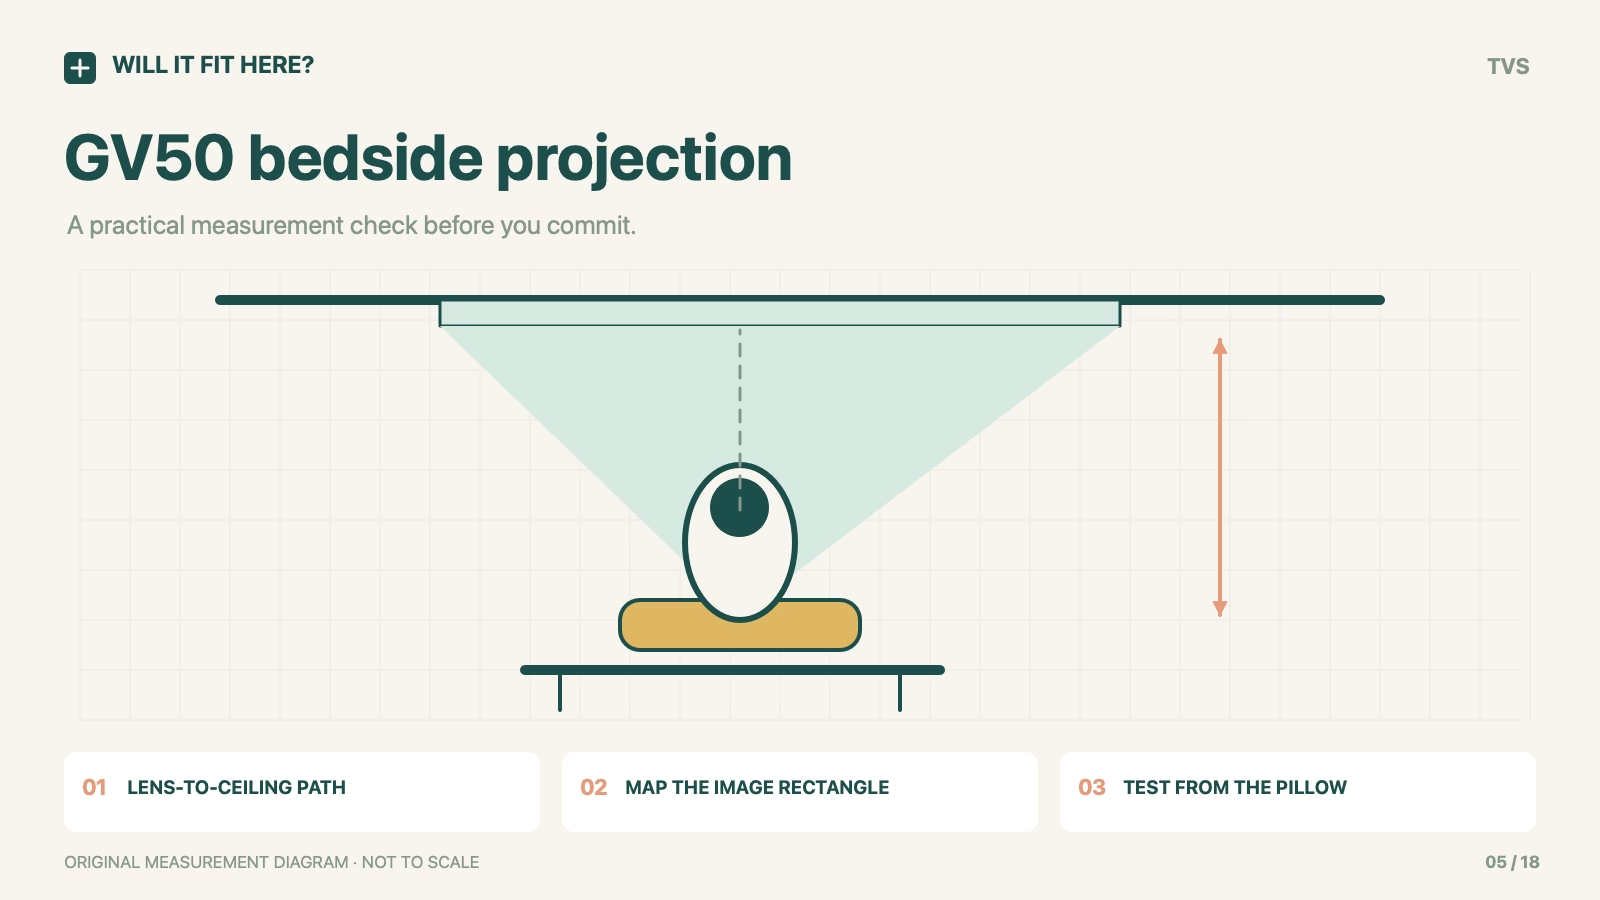
BenQ GV50 ceiling fit: scope
BenQ GV50, using the official GV50/GV50P2 user manual v1.05. This is tabletop upward projection, not an improvised ceiling-hanging installation.
Dimensions and conditions
| Check | Reference or condition | What it means |
|---|---|---|
| Optical reference | Fixed throw ratio 1.2 | The specification is not an optical zoom range. |
| 100 in reference image | 2,214 × 1,245 mm; distance about 2,657 mm | Official 16:9 manual table; approximate values. |
| 80 in reference image | 1,771 × 996 mm; distance about 2,125 mm | Use as a planning reference and test the actual image. |
| Body reference | 130.0 × 211.2 × 191.4 mm, W × H × D | The supported operating orientation must still be checked. |
| Ceiling obstacles | Measure lights, fans, beams and viewing area | A rectangle on paper does not establish a usable projection surface. |
1. Locate the BenQ GV50 lens before measuring
Set the proposed support position, then identify the lens location in the intended upward orientation. A floor-to-ceiling measurement overstates the available projection distance when the lens begins on a raised table. Conversely, a slanted beam follows a different path from a vertical tape held against the wall. Record the path you are actually planning and the target image position together. Do not use the projector’s outer height as a substitute for the lens reference.
2. Lay out the image on the ceiling
Use the manual’s image width and height to mark a lightweight planning rectangle, or sketch it accurately on a ceiling plan. Check fixtures and the region visible from the normal pillow position. The screen diagonal alone does not describe the two sides of the image. A clear patch may also be awkwardly placed above the viewer. Digital correction can alter the displayed outline, but it does not create more clear ceiling or change the fixed optical throw into a zoom lens.
3. Check the support and test before committing
Give the projector a stable permitted support and route the power lead where it will not be pulled as someone enters or leaves the bed. Keep bedding and other objects away from the device’s required ventilation paths. Use the actual unit to test image size, placement and focus before permanent furniture decisions. The manufacturer describes its distance table as approximate; treat the table as a planning tool and the in-room test as the final positioning check.
Before you decide: 5 checks
- Confirm GV50 identity and the matching current manual.
- Measure lens-to-target distance in the intended upward orientation.
- Compare both sides of the planned 16:9 image with the clear ceiling.
- Check support, ventilation, power and normal bedside movement.
- Test the actual image before treating the arrangement as a confirmed fit.
FAQ
Does a 2,657 mm room height guarantee a 100-inch image?
No. The manual’s distance is lens to screen. The lens position and direction determine the available path.
Can keystone correction replace missing ceiling space?
No. It changes image geometry within the available projection, not the physical size of an unobstructed ceiling patch.
Can I screw the projector to the ceiling using this guide?
No. This guide addresses a supported bedside position projecting upward. Follow the exact manufacturer instructions for any other installation.
Official sources and scope
Checked on 26 October 2026. The cited product, variant and region control. Follow the matching current instructions. The measurement workflow is editorial guidance; no firsthand installation or universal fit is claimed.