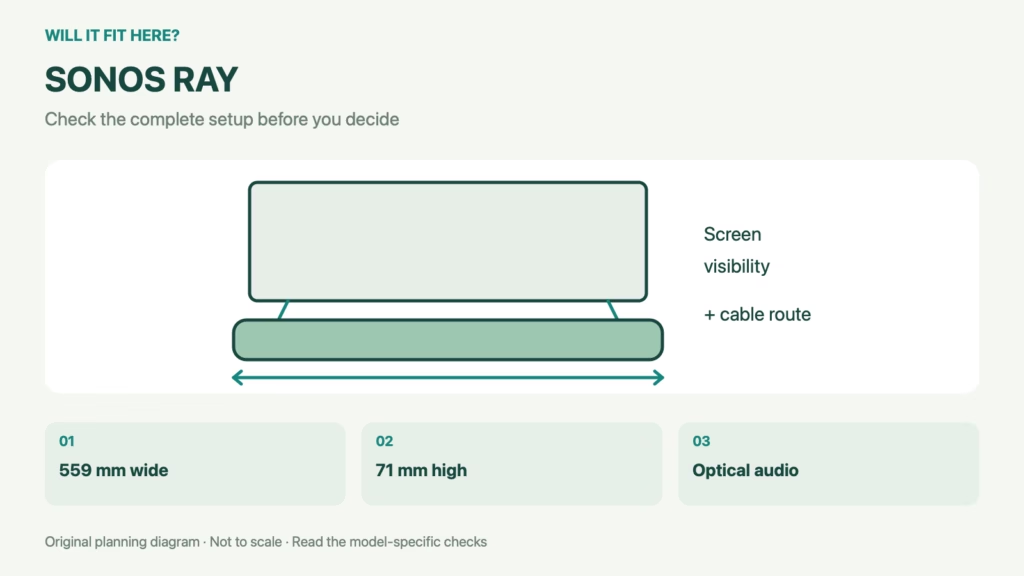
Fit verdict: Sonos Ray needs a compatible optical TV-audio connection and enough physical space in front of the television. Its body measures 559 × 71 × 95 mm, stated here as width × height × depth. Check the TV’s actual output and the soundbar’s operating position separately; a suitably wide shelf does not establish audio compatibility.
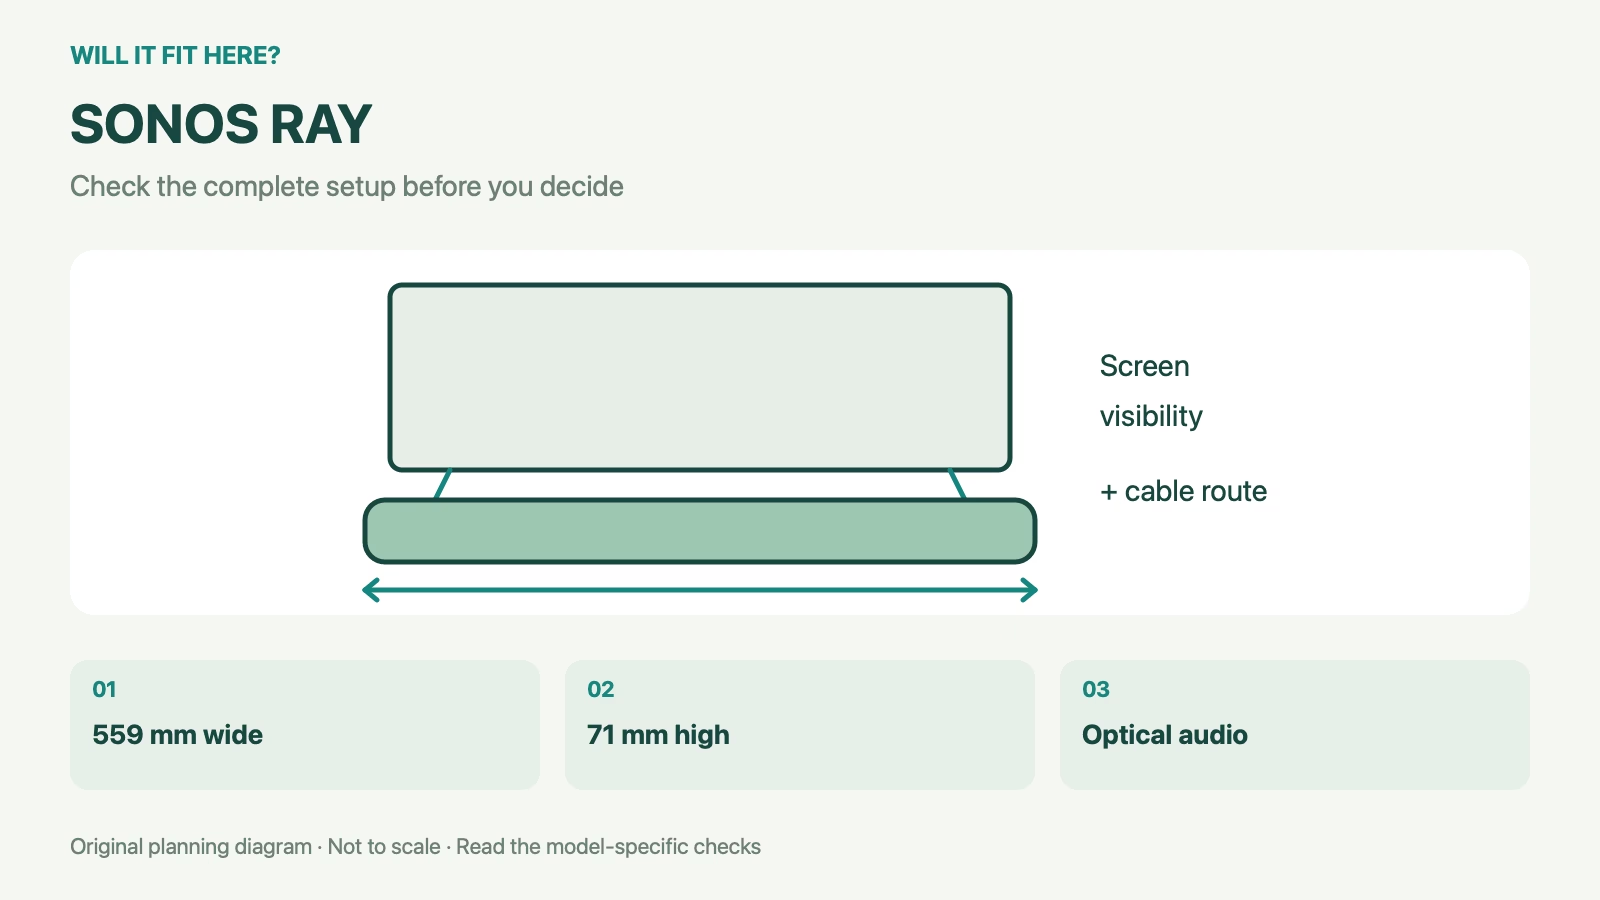
Dimensions and conditions
| Check | Reference | What it means |
|---|---|---|
| Body, W × H × D | 559 × 71 × 95 mm | 22.00 × 2.79 × 3.74 in |
| TV audio path | Optical connection | Check the TV output, not only HDMI |
| Placement | Measure TV feet and rear cable space | Body depth excludes your cable route |
1. Match Sonos Ray to the TV output
Look at the TV’s connection labels or its exact manual rather than assuming every socket provides an audio output. Identify the optical output and check how the television configures its audio format. Follow the Sonos setup guide for supported signals. If your television offers only an HDMI audio return connection, an ordinary passive cable does not prove a usable optical path. Resolve that system question before purchasing a soundbar on the basis of shelf size.
2. Template the body in front of the screen
Mark the soundbar’s width and depth on the console, then use a simple card upright to represent its height. Check the lowest visible part of the picture and the space between or around the television’s feet. A soundbar can sit on the console but still obscure the screen, remote sensor or a front-facing control. If you plan a shelf or wall installation, use the product’s supported mounting arrangement and instructions instead of assuming any narrow ledge is suitable.
3. Leave practical cable and control access
Use the actual optical and power connectors when assessing the space behind the soundbar. The plugs and cable bends need room beyond the body’s nominal depth. Avoid a route that traps a cable against a cabinet back or forces an abrupt bend. After positioning, check the TV and soundbar controls from the usual seat. Re-test the arrangement after moving the TV feet or adding another device, since a previously clear cable exit can become blocked.
4. Keep a Sonos Ray fit record
Record the exact TV model, optical-output setting, stand configuration and clear space above the console. Keep a photograph of the rear cable route for your own setup notes. If the television is later moved onto a different stand, repeat the visibility and connection checks. A successful audio test does not preserve the physical clearance when the surrounding furniture changes.
Sonos Ray: a worked fit example
Illustrative shelf check: a 600 mm clear opening leaves 41 mm total beside a 559 mm soundbar, or 20.5 mm per side if centred. That arithmetic only establishes width. It does not confirm an installation clearance requirement, screen visibility, optical compatibility or space behind the cable connectors.
Before you decide: 5 checks
- Confirm the TV has a usable optical audio output.
- Check the supported TV audio settings.
- Template the full soundbar width and height.
- Include power and optical plugs behind the body.
- Verify screen visibility and control operation.
FAQ
Is an HDMI port enough for Ray?
Ray uses an optical TV connection; establish a supported audio path.
Does 95 mm depth include my cable bend?
No. Treat your connected cable route as additional space to measure.
Will it fit between every TV’s feet?
No. Measure the exact stand configuration on your television.
Related fit guides
- TV Cable Clearance: 5 Simple Niche Fit Checks
- Game Console Fit: 5 Useful TV-Shelf Checks
- TVs fit guides
Sources
Sources checked 3 November 2026. Product-specific facts are attributed above. Worked examples and measuring methods are planning guidance; example dimensions are not product specifications. Recheck the exact model or current travel policy before acting.