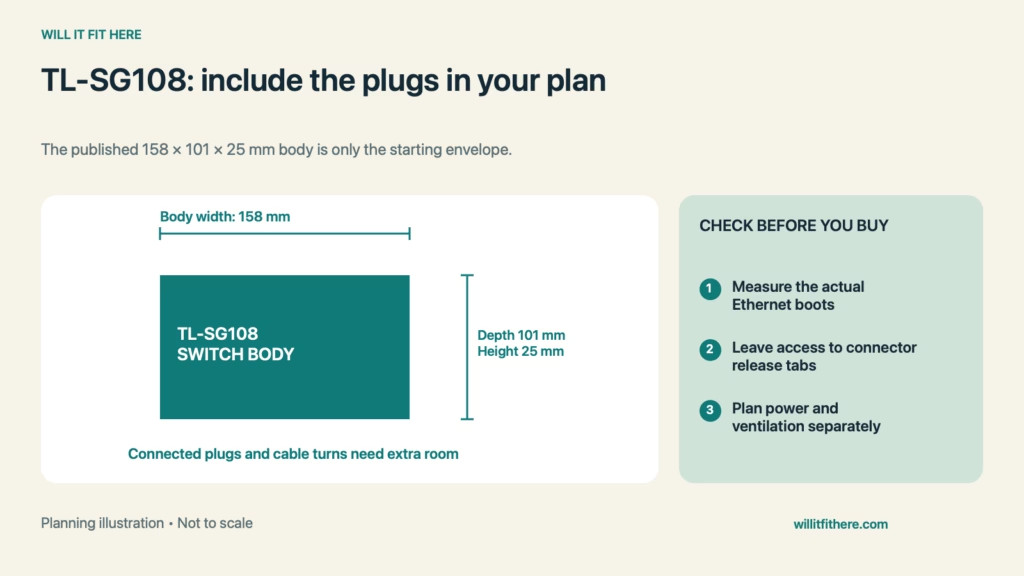
Fit verdict: TL-SG108 Fit in a small shelf or network cubby needs more depth than the bare metal case. TP-Link lists the eight-port desktop switch at 158 mm wide, 101 mm deep, and 25 mm high. Those are body dimensions, not a complete installation envelope. Ethernet plugs, their protective boots, the power connection, and room to release a connector can decide whether a seemingly generous compartment is usable.
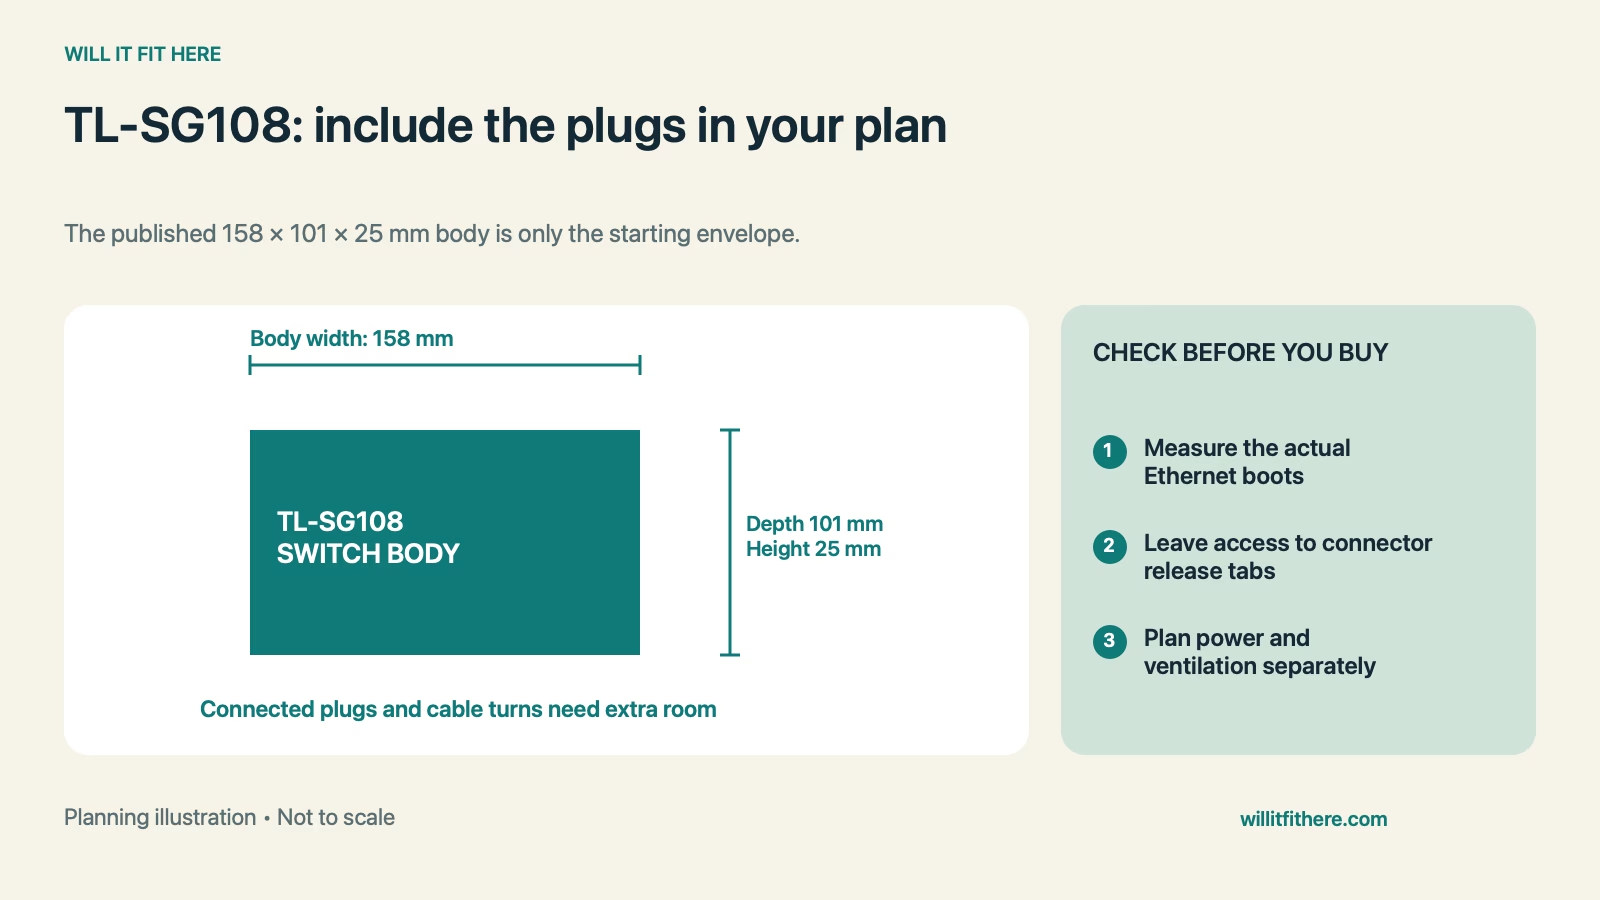
This is a specification-based planning guide, not a hands-on test of the switch or a temperature test inside a cabinet. All worked cabinet and cable measurements are hypothetical.
The published body and the space you must measure
| Check | Published specification or planning requirement |
|---|---|
| Model | TP-Link TL-SG108 eight-port desktop switch |
| Body, width × depth × height | 158 × 101 × 25 mm |
| Listed inch dimensions | 6.2 × 4.0 × 1.0 in |
| Network connections | Eight 10/100/1000 Mbps Ethernet ports |
| Cooling design | Fanless |
| Extra installation space | Measure actual plugs, cable turns, power connection, and access |
1. Confirm the exact switch and hardware version
Start TL-SG108 Fit with the model label, including the hardware version if you are downloading an installation guide. Similar names can identify managed, differently powered, or differently sized products. Do not build a tight holder around a retailer’s image alone. Check the local product page and the unit you own before drilling or ordering a custom bracket. A port that looks familiar also does not prove that an accessory has the electrical or network features you require.
2. Measure the usable shelf and its entrance
TL-SG108 Fit begins with the narrowest opening, not the cabinet’s advertised outside width. Subtract door hinges, shelf-support pins, a raised front lip, and any divider that reduces usable space. A 160 mm opening is only 2 mm wider than the published switch body, which offers little handling room. Measure the rear opening too if you expect to feed pre-terminated cables through it. A hole that passes the cable jacket may still be too small for the plug or its boot.
3. Add the connected plugs before judging depth
Insert the actual Ethernet cable you plan to use and observe how far the connector and boot project before the cable can turn naturally. Different boot shapes and cable constructions produce different space requirements. Repeat the check at the power connection. Avoid a sharp bend immediately behind a plug, and follow the cable manufacturer’s bend guidance instead of inventing one universal radius. A right-angle accessory may change the direction of travel, but its body still takes space and can obstruct neighboring connections.
4. Leave room to use all eight ports
TL-SG108 Fit should be checked with a realistic cable count. One thin patch lead is an easy test; a full row of bulky boots can be harder to disconnect. Keep access to the release tabs and allow each cable to reach its destination without pulling sideways on the socket. Label the leads before placing the switch in a confined area. If servicing a middle port would require dragging the whole bundle out, reconsider the shelf orientation or move the switch closer to the opening.
5. Plan power and ventilation independently
The external power adapter needs its own accessible outlet and physical space. Check whether its shape conflicts with neighboring plugs, and avoid packing spare cable tightly around the switch. Fanless operation does not mean the equipment is heat-free or suitable for a sealed pocket. Follow the installation guide’s placement requirements and keep the intended heat-dissipation surfaces unobstructed. A narrow slot that clears the case by a few millimeters is only a dimensional pass, not evidence of adequate cooling. Keep the adapter label accessible for future replacement checks.
TL-SG108 Fit: a worked connected-depth example
Suppose a shelf has 200 mm usable width and 180 mm usable depth. The bare body leaves 200 − 158 = 42 mm across and 180 − 101 = 79 mm front to back. Now suppose your measured front connector-and-cable zone needs 38 mm and the rear connection needs 24 mm. The connected depth becomes 101 + 38 + 24 = 163 mm, leaving 17 mm. This TL-SG108 Fit example shows a preliminary geometric pass, but those cable zones are hypothetical measurements, not TP-Link clearance requirements. Service access and ventilation still need separate approval against the instructions.
Before choosing the mounting location
- Verify TL-SG108 and its hardware version.
- Measure the compartment and the route through its opening.
- Test the actual Ethernet plugs, boots, and cable turns.
- Reserve access to release tabs and the power adapter.
- Check the installation guide before enclosing or mounting it.
FAQ
Will a 101 mm-deep shelf be enough?
It matches only the published body depth. TL-SG108 Fit with connected cables usually requires additional space or an unobstructed route beyond the shelf, measured for your actual setup.
Can the switch be pushed against the cabinet back?
Do not decide from the case dimensions alone. Inspect connector locations and follow the placement instructions. A cable must not be trapped between the switch and the back panel.
Does eight ports mean space for eight bulky adapters?
No. The port count identifies connections, not clearance around third-party adapter housings. Check adjacent-port access with the specific cables or adapters you intend to install.
Related fit guides
For larger network equipment, see UDM-Pro rack depth and cable checks. For nearby wiring organization, see SIGNUM under-desk cable-tray planning.
Official sources
Specifications checked November 6, 2026. Match your region and hardware version before installation.