Fit verdict: A Garmin DriveSmart 76 can fit a windshield position only if the complete mount, screen and power lead work there without obstructing the driver. An old GPS suction cup is not proof that its device cradle fits. Check the attachment interfaces before planning the screen position.
This guide covers the DriveSmart 66/76 mounting arrangement shown in Garmin’s manual. The DriveSmart 86 has a separate mounting procedure. Dashboard discs, friction mounts and third-party brackets need their own stated compatibility; a matching-looking ball is insufficient evidence.
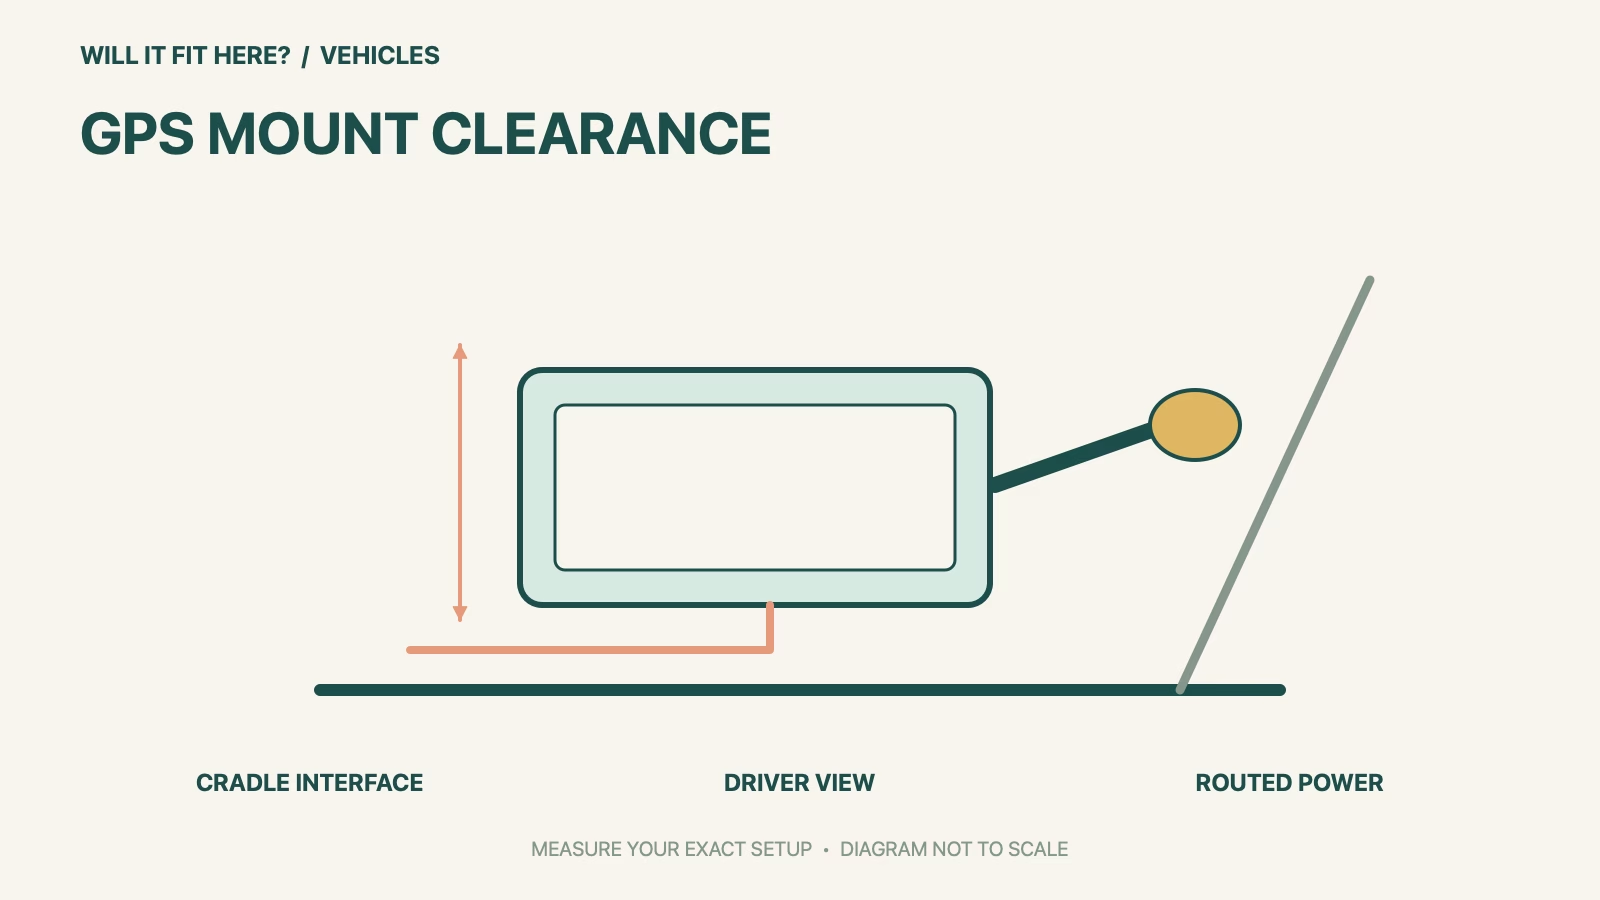
Dimensions and conditions
| Check | Official reference | What to verify |
|---|---|---|
| Device family | DriveSmart 66/76 manual | Use the matching cradle, not a DriveCam or 86 illustration. |
| Windshield interface | Suction cup and locking lever | Allow room to operate the lever. |
| Mount interface | Cradle snaps onto suction-cup ball | Confirm the exact mount assembly. |
| Device attachment | Top tab, then bottom clicks into place | Leave access to attach and remove the navigator. |
| Power route | Device USB port → vehicle adapter → outlet | Include the plug body and a supported cable route. |
1. Identify the Garmin DriveSmart 76 cradle first
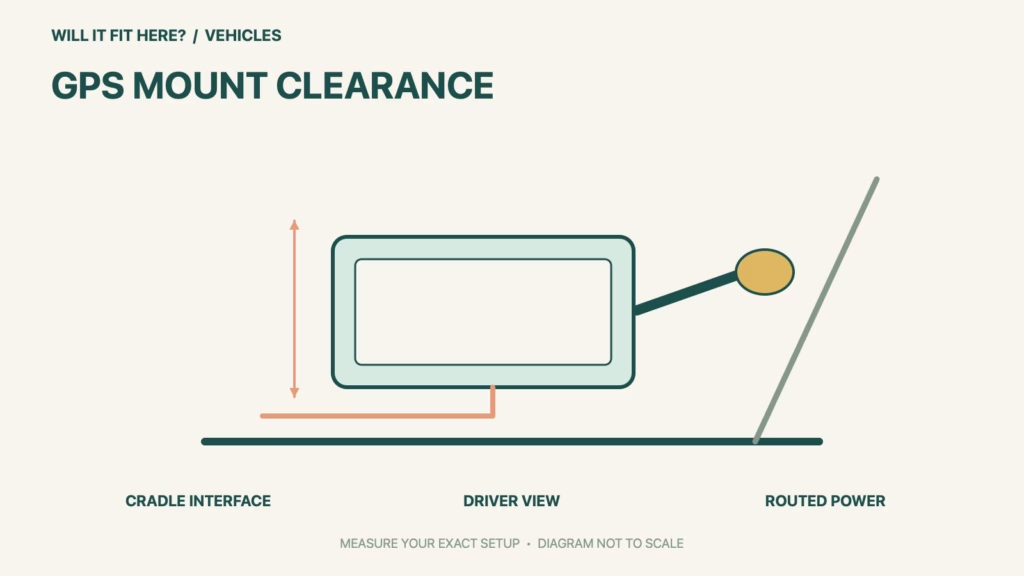
Lay the navigator, cradle, suction cup and supplied power adapter together before measuring the car. Garmin shows the cradle connecting to the suction-cup ball, followed by the device engaging with a top tab and bottom catch. Those are two different interfaces. Photograph the part numbers for your own notes and check Garmin’s accessory compatibility if reusing a mount. Do not force an almost-matching clip or assume another seven-inch navigator uses the same back.
2. Template the screen from the seated driving position
Use a paper outline of your actual device, then add the mount projection behind it. Assess the position while parked, with the seat adjusted normally. A low dashboard edge, steep glass or mirror housing can make the mount harder to reach than the bare screen suggests. Check the local mounting rules and vehicle handbook. The correct position must preserve sight lines, airbag operation and access to vehicle controls; screen visibility alone does not settle the decision.
3. Test removal, power and storage access
Check whether the top tab can engage and the lower latch can release without the screen striking the glass or trim. Route the lead with the outlet adapter installed; a cable length measured in a straight line may ignore the actual path around trim. Keep it away from controls and moving parts. Garmin warns about battery exposure to extreme heat and advises storage out of direct sunlight, so include a practical removal and storage plan.
Before you decide: 5 checks
- Read the navigator and mount identifiers before reusing parts.
- Measure your actual device with its cradle and plugged-in cable.
- Check the full lever movement against the windshield and trim.
- Review the parked driver’s view and vehicle-specific restrictions.
- Practise attaching and removing the unit before relying on the location.
Keep a short Garmin DriveSmart 76 fit record with the exact product or service identity, the official rule you checked and the measurements from your own setup. Mark anything you could not verify as unresolved. Recheck the record if the product, accessories, route or surrounding space changes; an earlier fit result belongs to the configuration that was actually checked.
FAQ
Will any Garmin ball mount fit the Garmin DriveSmart 76?
Do not assume so. Verify both the ball-to-cradle connection and the cradle-to-device attachment for the exact accessory.
Can I use the DriveSmart 86 instructions?
Use the 66/76 procedure for this guide. Garmin gives the 86 its own mounting section.
Does fitting the screen prove the cable will reach?
No. Measure the routed path with both plugs installed and with controls unobstructed.
Related fit guides
Continue with Thule Chariot Cross 2 Fit: 5 Trunk-Loading Checks or browse Vehicles fit guides. Check each item against its own specifications; a related guide does not establish this product’s compatibility.
Official sources
Sources checked 27 October 2026. Measurements and conditions are attributed above; room and packing checks are planning guidance. Recheck the current official instructions before purchase, installation or travel.