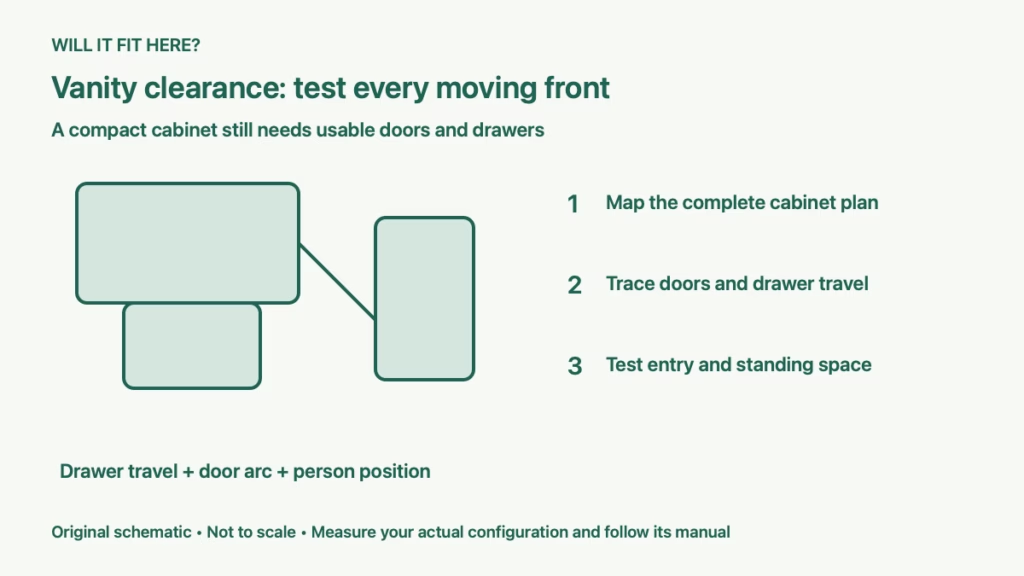
Quick answer: Bathroom vanity clearance needs the complete cabinet and sink footprint, each door’s swing, full drawer projection and a usable standing position. A vanity can fit between walls while a drawer hits the toilet or the room door blocks access. Trace every moving part on the same measured floor plan before ordering.
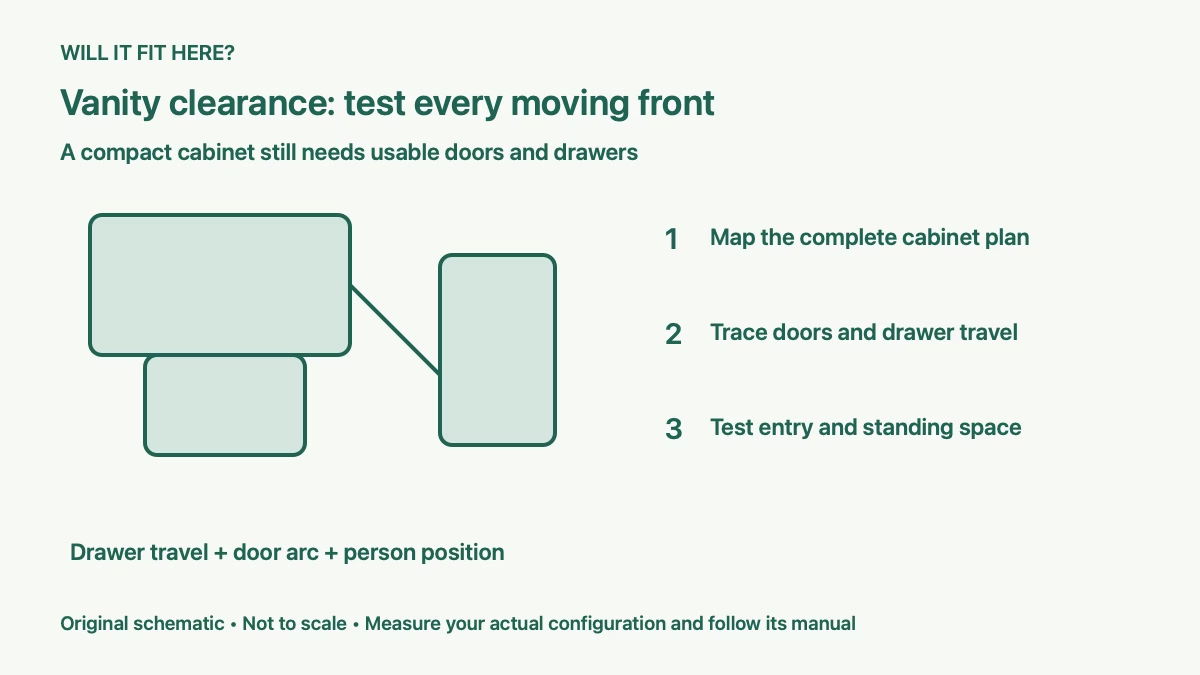
This guide is for a compact bathroom renovation where storage must work around an existing toilet and entry door. It focuses on everyday access to cabinet fronts; plumbing, wall support and any applicable building requirements still need their own checks.
1. Map the complete bathroom vanity footprint
Measure the room’s actual walls, trim and nearby fixtures. Include the sink or countertop overhang, handles and any filler panels in the installed footprint. The cabinet box width and depth may be smaller than the complete assembly.
For an example, IKEA lists ENHET 105.153.05 as an 18-inch-wide, 18-inch-deep and 24-inch-high bathroom vanity cabinet. The sink, drawer fronts, handles and specified plumbing parts complete the installation; this cabinet size alone is not the room’s final occupied envelope.
Mark the toilet at its widest and nearest projecting parts, not just its centerline. Note the height of anything that may intersect a handle or open drawer. A plan view screens the layout, while height measurements resolve whether the parts actually collide.
2. Trace each door’s full opening path
For a bathroom vanity with hinged doors, mark the hinge position and the outer edge’s sweep from closed to the normal open position. Include the handle and the door thickness. Use the opening angle specified for the fitted hinge rather than assuming every door stops at 90 degrees.
Check neighboring walls, towel bars, toilet tanks and the room door throughout that sweep. The door can hit a fixture midway even if you imagine its final open position as clear. Test both cabinet doors if the layout has a pair; one usable side does not establish access to the other.
If a manufacturer permits choosing hinge direction, compare the permitted configurations before assembly. Do not assume every cabinet front is reversible or that a different hinge will work with the supplied drilling.
3. Add full drawer projection and access space
Measure how far each drawer projects beyond the closed front at its normal stop, including its handle. Interior drawer depth and outside cabinet depth do not reliably equal the outward travel. Request a product drawing or measure a showroom sample when the retailer omits this dimension.
The ENHET example describes three-quarter drawer extension. That describes its extension type; it does not give a measured projection in inches. Confirm the actual front-to-front travel before using it in your layout.
Use remaining access space = closed-front-to-obstacle gap − open drawer projection. A hypothetical 34-inch gap with a 14-inch projection leaves 20 inches. These are example values, not universal bathroom or accessibility minimums. Test whether the intended user can stand and retrieve items comfortably.
Our dresser drawer clearance guide explains the same distinction between cabinet-body fit and operating space in a bedroom. Bathroom vanity checks must also account for the nearby sanitary fixtures.
4. Test entry and storage use together
Make a removable floor mockup for the cabinet, open fronts and standing position. Open the room door through its normal movement and walk in as you usually would. Check whether it traps a cabinet door or requires moving awkwardly around an open drawer.
Try reaching the lower storage, using the sink and cleaning around the base. Include a waste bin, laundry basket and the household’s usual users. A narrow strip that lets a door open may still leave no useful position for the person opening it.
Bathroom vanity clearance should remain practical after accessories are installed. Add projecting towel rails and cabinet pulls to the mockup rather than treating them as decoration with no footprint. Close storage fronts before moving through a tight route.
5. Confirm installation before committing
Keep access geometry separate from the wall fixings, plumbing and sink compatibility. IKEA requires the ENHET example to be secured to the wall with appropriate fixing devices. Follow the actual assembly instructions and have the installer confirm support and connections for your chosen configuration.
Ask the bathroom designer or installer to confirm the applicable fixture clearances and accessibility requirements for your location and project. A comfortable mockup does not by itself demonstrate compliance. Do not reduce required clearances to gain cabinet storage.
If the bathroom vanity fails, compare a shallower complete assembly, another storage-front arrangement or a revised layout. Preserve the sink and toilet’s required function. Our dishwasher door clearance guide offers another example of checking moving parts against a fixed room obstacle.
Decision: Bathroom vanity clearance passes when the complete assembly, every normal front movement, useful standing space and room-door access work together. Record the tested dimensions and confirm installation requirements before ordering.