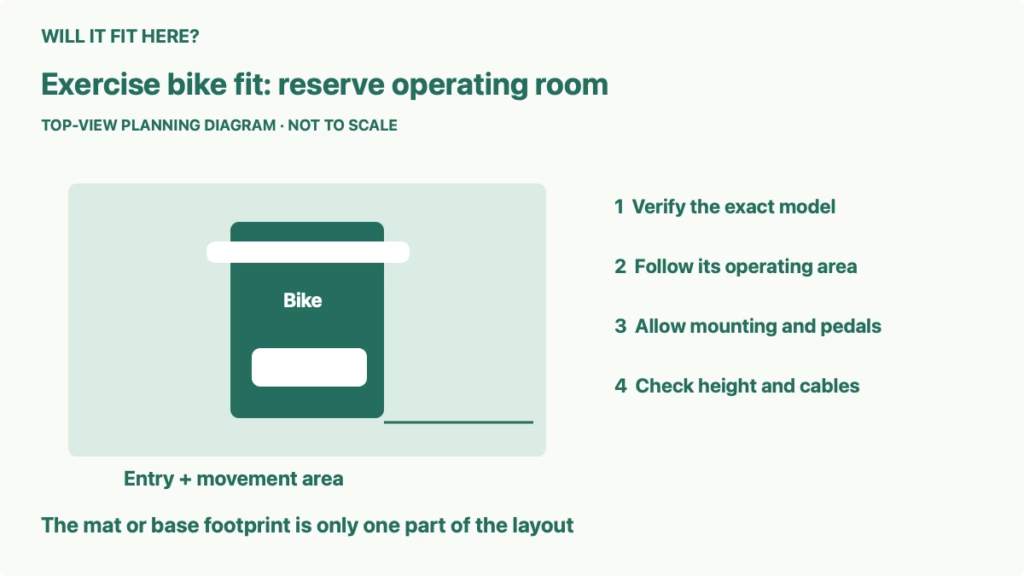
Quick answer: Exercise bike fit in a small room requires the complete machine, the manufacturer’s operating area and a usable mounting route. A bike or mat footprint can fit while the rider has too little space to enter, pedal or leave. Compare the exact model’s manual with your room, including the area behind the bike and on the access side.
This guide is for choosing a permanent location for a stationary indoor cycling bike in a bedroom, study or home exercise room. The decision is whether the rider can use that particular machine normally without the setup taking over a door or shared walkway. Equipment clearance is separate from whether a bike suits the rider’s size and adjustment needs.
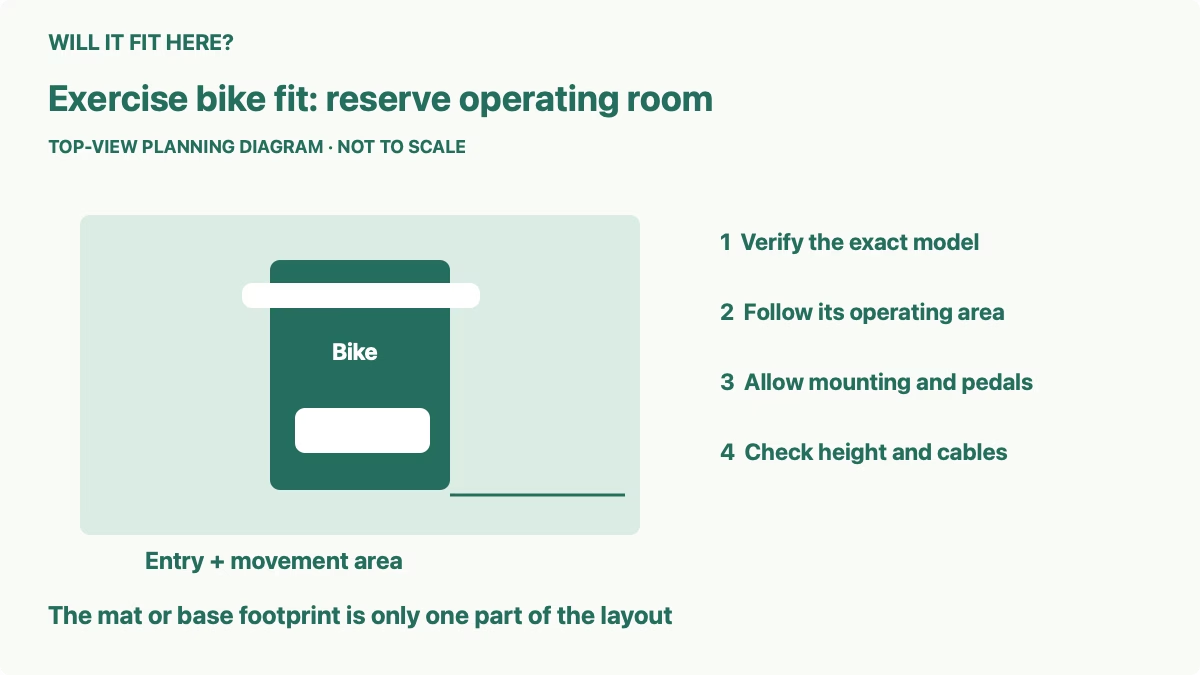
1. Identify the complete machine and its adjustment range
Record the model number and regional version before comparing dimensions. Similar-looking bikes can have different stabilizers, handlebars, screens and accessory holders. Use the manufacturer’s assembled dimensions rather than the shipping carton or a retailer’s mat size.
Measure the longest and widest points in the configuration you will use. Include projecting pedals, handlebars, display hardware and holders where applicable. Check whether the seat’s forward or rearward adjustment changes a projection that matters beside a wall. Do not assume the base legs define the entire machine.
Confirm that the intended rider can use the seat and handlebar settings within the maker’s permitted range. This is a separate purchase check from room fit. A bike that fits an alcove is not automatically suitable for every person who wants to ride it.
2. Compare exercise bike fit with the operating area
Read the manual’s setup and safety-clearance sections. Mark the required workout area around the machine in the orientation specified. Keep that area available during use rather than borrowing a strip occupied by furniture or a person walking past.
As a labeled example, Schwinn’s IC4/IC8 assembly and owner’s manual shows a machine approximately 123.7 cm long, 53.9 cm wide and 131.6 cm high. Its before-assembly section specifies a minimum workout area of 1.15 by 1.85 metres and at least 0.6 metre, or 24 inches, clear on the side used for access and behind the machine. These requirements belong to that manual; they are not universal dimensions for all indoor bikes.
That example demonstrates why the machine width alone is insufficient. Draw the complete operating rectangle and identify which side you will use to mount. If your plan depends on entering from a side that the room blocks, revise the position before ordering.
| Space to record | Question it answers |
|---|---|
| Complete assembled machine | Does the physical bike clear fixed room obstacles? |
| Manufacturer workout area | Does the planned location meet the specified operating space? |
| Mounting and rear clearance | Can the rider enter and leave using the intended route? |
| Rider height and movement | Do shelves and overhead objects stay clear during intended use? |
3. Check mounting, pedals and occupied room routes
Mark the bike and its operating area with removable tape. Place a chair or another simple reference outside that outline to represent nearby furniture. Walk through the entry route and open every adjacent door in its normal position. Include wardrobe doors and drawers as well as the room’s main door.
Inspect an applicable display model when possible to understand the mounting movement and pedal position. Follow the exact instructions for entering and leaving the machine. Do not mount an unassembled bike or move pedals around people simply to test whether a cramped space can work.
Keep the required access area available when someone is riding. A room layout should not rely on another person stepping into that space to reach a closet. Consider whether the household needs a separate passage around the operating area while the bike is occupied.
Check where shoes, towels and other items will be stored. Keep them out of moving parts and away from the required clear area. An empty-room diagram can hide the objects that accumulate around a machine in everyday use.
4. Inspect overhead height and connected accessories
Measure to the lowest overhead obstruction above the intended riding position. Include sloped ceilings, shelves and projecting fittings. A published machine height does not include the rider’s head or any upper-body movement permitted by the workout and manufacturer.
Use the tallest intended rider and the actual approved adjustments when checking the setup. If a model supports standing riding, account for that intended movement rather than measuring only a seated posture. Do not use a ceiling-height guess to replace the manufacturer’s requirements or a realistic position check.
Include a tablet, screen or other supported accessory in the projection plan. Check its allowed positions and whether it remains reachable without shifting the bike. Leave cable connections and natural cable bends clear of walls and moving parts as the instructions require.
Plan the power route if the machine needs a connection. Follow the model’s power-supply instructions and keep the cable out of the mounting and walking routes. Do not pinch a cord behind furniture or route it across the required exit area to make an unsuitable position seem workable.
5. Confirm the floor, delivery and storage plan
Use the floor conditions specified in the manual. A bike that needs a solid, level surface should not be placed on an unsuitable base just because it creates a neat corner layout. Check the permitted mat arrangement and the complete footprint beneath the stabilizers.
Measure delivery packages and the assembly route independently. An assembled-bike length does not describe every carton or hallway turn. Confirm the space and number of people required for assembly using the current instructions, then keep that area available.
If you intend to move the bike between storage and riding positions, map both locations and the route between them. Follow the maker’s moving and storage procedures. The presence of transport wheels does not prove that moving a heavy machine across a threshold is suitable for every user or floor.
Complete the plan with the machine outline, required operating area, intended mounting side, overhead clearance, cable route and room doors. If a required space cannot remain clear during use, change the position or select a different model. Exercise bike fit should make the normal workout sequence practical, not simply allow the base to sit inside a taped rectangle.
Common questions before choosing a bike location
Can I use the mat dimensions as the room requirement? No. Compare the complete machine and the manufacturer’s required operating space.
Does a narrow bike need clearance only at its front? Read the exact manual. The applicable access-side and rear clearances can determine the layout.
Is the machine height enough for a ceiling check? Include the intended rider and permitted movement, plus any exact overhead requirement in the instructions.
Sources and related fit checks
Manufacturer reference: Schwinn IC4/IC8 assembly and owner’s manual, especially printed pages 4 and 6. Source checked October 7, 2026; confirm the manual supplied for your exact bike and region.
For another exercise-machine height check, see our treadmill ceiling-clearance guide. For a different activity that needs space around its footprint, use the pool table cue-space checks.