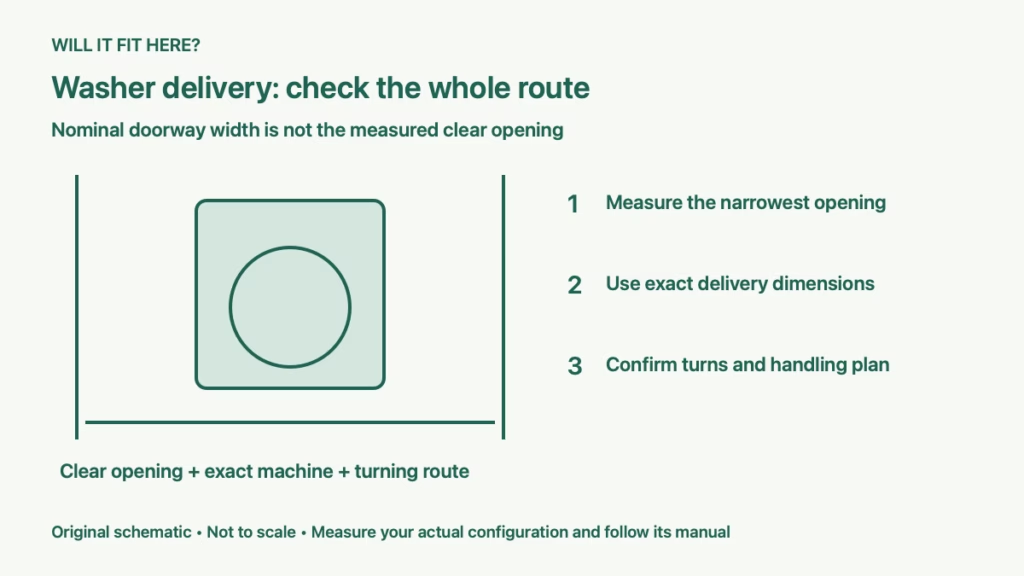
Quick answer: A washing machine can pass through a narrow laundry door only when its permitted transport configuration fits the clear opening and the entire approach. Compare the actual appliance envelope with the narrowest jamb, handle, threshold and turn. A nominal door size or a washer’s drum capacity cannot answer the delivery question.
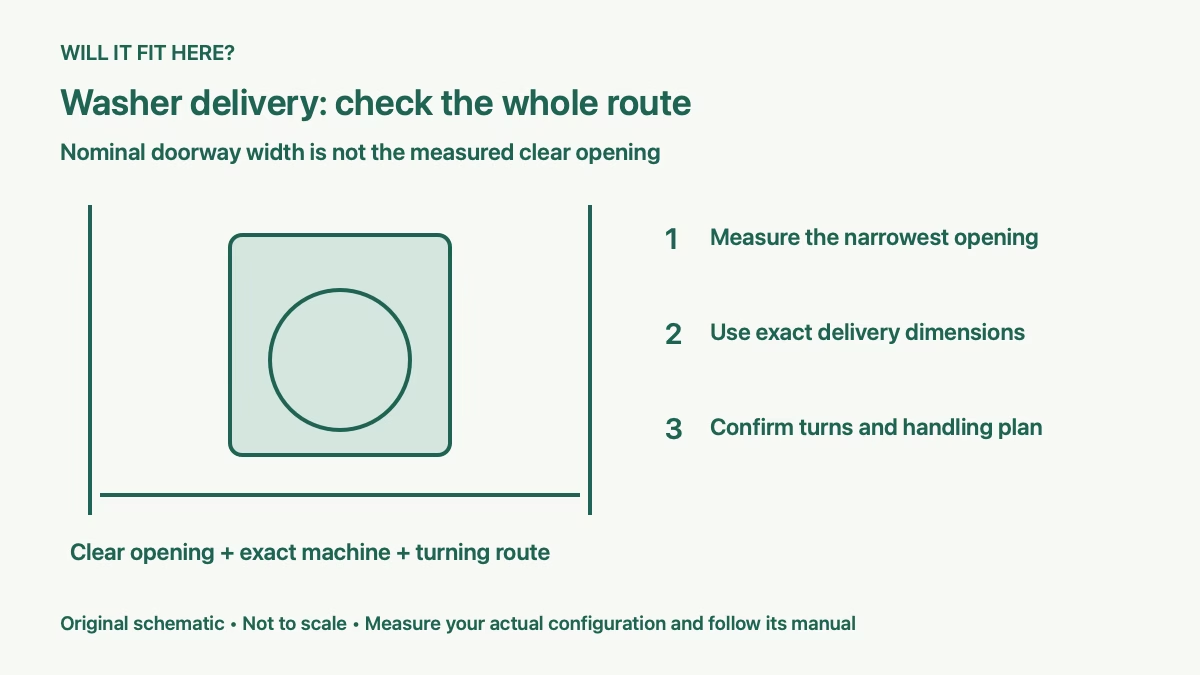
This guide is for a replacement washing machine that must enter an existing room. It covers the delivery route, rather than the ventilation and service space needed after installation. Measure before paying for delivery, and send the route information to the retailer when the result is close.
1. Measure the clear laundry door opening
Open the laundry door to the position it can actually hold during delivery. Measure between the nearest opposing obstructions, including the door edge, stop, latch hardware and jamb. Repeat near the floor, at the appliance’s widest level and higher up. Trim, a leaning frame or a protruding handle can make these readings different.
Record clear height from the highest threshold to the lowest obstruction overhead. A step changes the height available while the washing machine is being moved. Check whether the open door blocks the adjacent hallway, because a wide opening is not useful if the delivery team cannot approach it.
Do not use the door slab’s advertised width as the opening measurement. If the slab can be removed, measure the resulting opening separately and ask who will remove and reinstall it. Removing a door does not remove the jamb or a structural wall. Treat any building alteration as a separate decision.
2. Find the washing machine transport envelope
Start with the exact model and its current installation or owner’s documentation. Measure or obtain maximum width, depth and height in the configuration the delivery team is allowed to use. Door curvature, control panels, hose connectors and packing protection may extend beyond the cabinet. A rounded front still occupies space.
For example, LG’s official WM4000HWA support page provides model-specific owner’s documentation and a specification resource. Use the documents matching the appliance being delivered; a nearby model name or drum-capacity label is not a substitute for its transport dimensions.
Ask whether dimensions include the front door and rear connections. Do not subtract parts from the envelope unless the manufacturer permits their removal and the delivery provider agrees to perform it. Removing a washing machine door, top or control panel is not a universal delivery trick. Transport orientation, packaging and shipping restraints also need the model’s instructions.
3. Compare straight passage and turning space
For a straight approach, compare the chosen orientation’s width with the clear laundry door width and its height with the clear height. Then check the depth needed to enter and leave the opening. Turning the appliance changes which dimension faces the opening, but does not guarantee it can complete the turn.
As an arithmetic example, a measured 28-inch appliance envelope against a 29-inch clear opening leaves just 1 inch of total width difference. That is not 1 inch on both sides and is not a delivery approval. Padding, hands, a dolly, alignment error and wall irregularities may consume it. These are example measurements, not a specification for a particular model.
At a right-angle entry, the washing machine’s corners sweep through the hallway while its front enters the room. A taped rectangle matching the full envelope can reveal conflicts on a floor plan. A lightweight full-size cardboard mock-up is better for a difficult turn. Let the delivery team decide whether their equipment and handling method can negotiate it.
4. Check the complete washing machine route
Walk from unloading point to final room. List the front entry, gates, elevator, landing, stair turns and every internal door. The limiting opening may be nowhere near the laundry. Include stair headroom and rails, and photograph the approach from both directions. Keep the same units throughout the measurement sheet.
Plan the old washing machine’s exit as well. A replacement route can be clear while the old appliance remains connected or furniture blocks the hallway. Arrange utility disconnection and reconnection with the appropriate provider. Do not rely on moving a heavy appliance alone or temporarily balancing it on a step.
Keep a useful passage available for the team and protect surfaces using their agreed method. A dolly or protective wrap adds its own envelope. Do not promise clearance using bare-cabinet measurements when the provider intends to keep transport protection in place.
5. Get a delivery decision before ordering
Send the retailer the exact model, narrowest clear width and height, tight-turn measurements, stairs and photographs. Ask for their required handling margin and written confirmation of any allowed part removal. If they cannot confirm a borderline route, arrange a survey or choose an appliance with a smaller verified envelope.
Once the washing machine reaches the room, assess its installed position separately. Hoses, drain arrangement, electrical access, leveling, door opening and service clearances still need the installation manual. Our stacked washer and dryer closet guide addresses that different fit problem.
Before delivery: confirm the entire route, approved transport configuration and provider’s handling space. If the laundry also has crowded cabinetry, use the same moving-front approach in our bathroom vanity clearance guide. A washing machine is ready to order when both the route and the installed operating space have been checked.