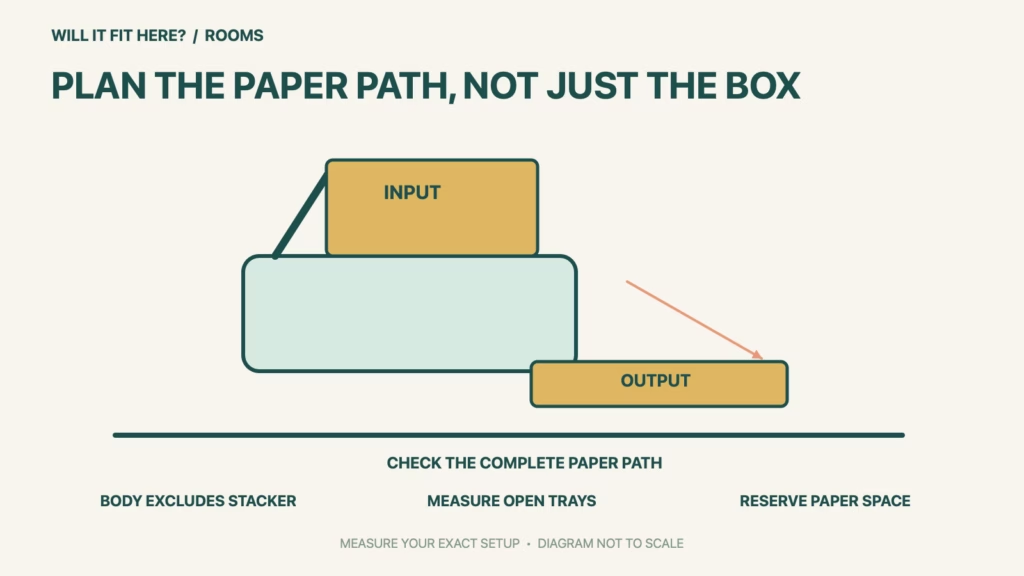
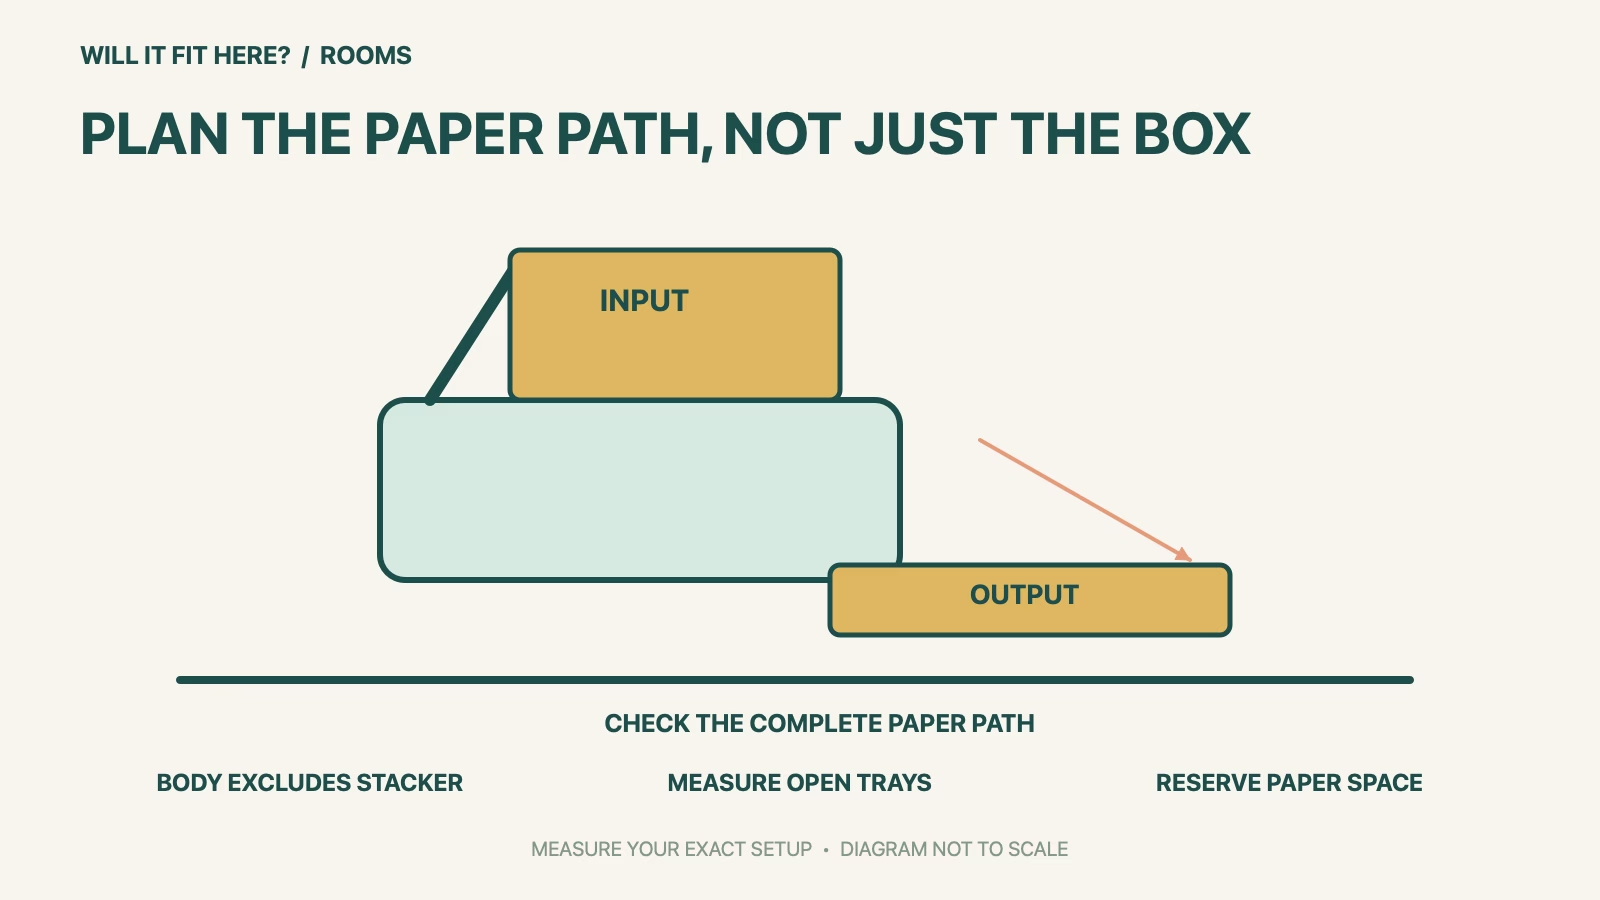
Fit verdict: ScanSnap iX1600 needs a usable paper path and access around its trays, not just a shelf matching the published body dimensions. Ricoh lists 292 × 161 × 152 mm (width × depth × height), explicitly excluding the stacker and other external attachments. Treat that as a body reference rather than the complete operating footprint.
This guide concerns physical desk and shelf placement for the iX1600. It does not establish computer or cloud-service compatibility, nor does it assign an unverified open-tray dimension. Measure the actual scanner with the trays and attachments you intend to use, then include the documents entering and leaving it.
Dimensions and conditions
| Check | Official reference | What to verify |
|---|---|---|
| Body width | 292 mm / 11.5 in | Check side access and real attachments. |
| Body depth | 161 mm / 6.3 in | Stacker is excluded from this figure. |
| Body height | 152 mm / 6.0 in | Check the actual open arrangement. |
| Listed weight | 3.4 kg / 7.5 lb | Use an appropriate stable support. |
| Paper handling | 50-sheet ADF reference; capacity depends on paper | Plan input, output and retrieval space. |
1. Separate ScanSnap iX1600 storage from scanning space
A compact closed scanner can fit on a shelf that is awkward for daily scanning. Draw two outlines: the stored unit and the unit ready for the documents you actually handle. Include any receipt guide or other attachment in the second outline. If the desk is shared, decide where those pieces will live when the scanner is closed. Do not label the body’s 161 mm depth as the total required worktop depth, because the official specification specifically excludes the stacker and external attachments.
2. Measure with representative paper
Choose ordinary documents from your intended workflow, such as letters and receipts, and plan where they sit before and after scanning. With the scanner positioned according to its instructions, check the actual open tray arrangement and the space needed to pick up the finished stack. Make sure the output path is not occupied by a keyboard, monitor stand or the desk edge. A paper template can reserve the working area while you arrange the rest of the desk, but use the real unit and attachments to confirm the final layout.
3. Keep controls and maintenance reachable
Check that you can see and operate the touch screen from the intended position without reaching under a low shelf. Plan a cable route that does not pull the scanner toward the edge when a nearby device moves. Leave access for the opening and cleaning actions described in the current manual rather than assuming that a shelf which permits scanning will also permit maintenance. If you need to pull the scanner forward for use, confirm a supported, stable place for the entire arrangement and a clear route for both cables and paper before adopting that routine.
Before you decide: 5 checks
- Record the ScanSnap iX1600 model and the body-versus-attachment distinction.
- Measure the real open trays and selected attachments on the intended surface.
- Reserve space for incoming sheets, output and document retrieval.
- Check screen reach, cable slack and the shelf above the open unit.
- Confirm support stability and access required by the current maintenance instructions.
Keep a short ScanSnap iX1600 fit record with the exact product or service identity, the official rule you checked and the measurements from your own setup. Mark anything you could not verify as unresolved. Recheck the record if the product, accessories, route or surrounding space changes; an earlier fit result belongs to the configuration that was actually checked.
FAQ
Is ScanSnap iX1600’s 161 mm depth the full scanning depth?
No. The official dimensional footnote excludes the stacker and other external attachments.
Can a shelf only slightly taller than 152 mm be approved from the specification?
No. Check the actual open arrangement, document loading and access rather than only the body height.
Does fitting the scanner prove my computer supports it?
No. Physical placement and current software or operating-system support are separate checks.
Related fit guides
Continue with Brother SE700 Fit: 5 Embroidery-Table Checks or browse Rooms fit guides. Check each item against its own specifications; a related guide does not establish this product’s compatibility.
Official sources
- Ricoh: ScanSnap iX1600 dimensions, weight and attachment-exclusion footnote
- Ricoh: ScanSnap iX1600 product overview
Sources checked 30 October 2026. Measurements and conditions are attributed above; room and packing checks are planning guidance. Recheck the current official instructions before purchase, installation or travel.