Quick answer
A refrigerator next to a wall needs more than an opening wider than its cabinet. The door, handle and internal drawers must remain usable. Use the exact model’s wall-clearance and door-swing drawings. Published 2½-inch and 4½-inch gaps belong to different documented appliances; neither is a universal refrigerator rule.
Check the cabinet, moving doors and drawers separately
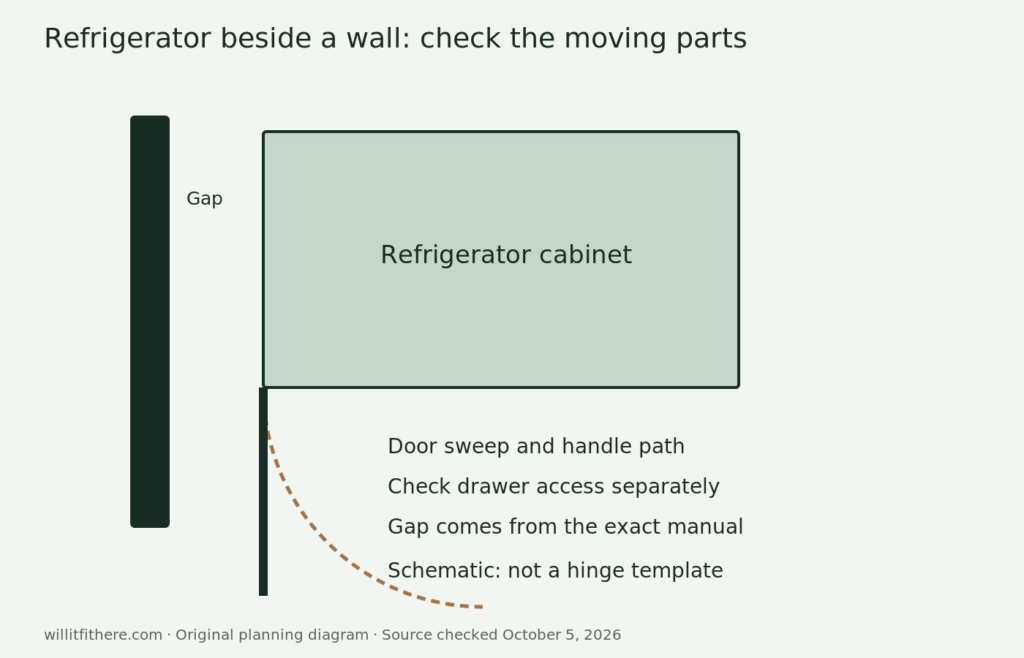
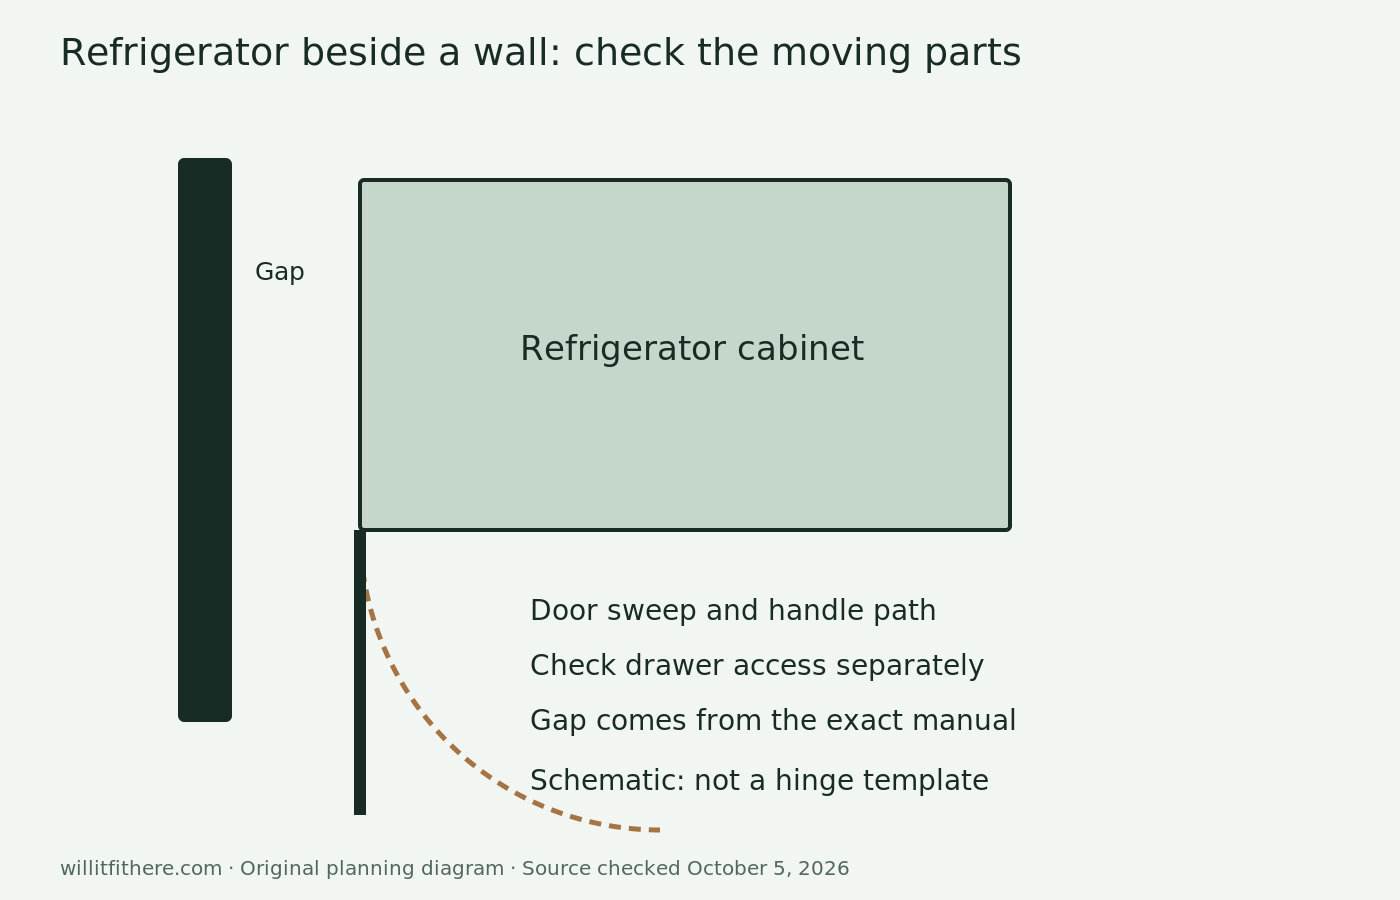
A refrigerator next to a wall can pass the cabinet-width check and still fail in daily use. The cabinet may slide into the opening, but a handle can strike the wall before the door reaches its intended position. An internal drawer can then meet the door or its bins before coming far enough out.
Break the problem into three tests: the closed appliance fits with its required spaces; the doors can follow their full prescribed sweep; and the interior storage can be used and removed as intended. Do not assume the first proves the other two.
Measure the wall’s forward projection too. A short return beside the cabinet and a wall extending beyond the handle occupy different parts of the door-swing area. Record trim, countertop edges and adjacent handles at the heights where contact could happen. A simple floor rectangle does not capture all of those conflicts.
Match the clearance to the correct model and manual
The manufacturer documents below illustrate why a number found in a search result must stay attached to its models. The 4½-inch example is from a KitchenAid built-in panel-ready manual hosted on Whirlpool’s document domain. The hosting brand alone does not identify the appliance.
| Document and exact example | Wall-clearance language to retain |
|---|---|
| W11807247A: KitchenAid KBFN536TPA and KBFN542TPA | 4½ in minimum to a corner wall; more may be needed for wood panels or custom/extended handles |
| W11608713B: Whirlpool WRF535SWHZ, mapped through its official literature listing | 2½ in minimum on hinge side at a fixed wall; some models require more |
In W11807247A, the models are on printed page 5 and door-swing guidance is on page 7. In W11608713B, the fixed-wall guidance is on page 8. These are examples of model-specific instructions, not a comparison of all built-in and freestanding refrigerators.
Take measurements at the actual hinge and handle area
Measure the opening at its bottom, middle and top, then record the smallest clear width. Measure height to the lowest obstruction and depth from the rear boundary to the intended closed front position. Keep cabinet depth, door depth and handle depth distinct when reading specifications.
Next draw the wall that sits beside the hinge. Note where that wall ends relative to the front of the refrigerator. If the wall has trim or an adjacent cabinet handle, include its projection. The obstruction that stops the door might be above the floor and absent from a floor-level measurement.
For a panel-ready refrigerator, record the proposed panel and handle arrangement as part of the review. The relevant manual specifically warns that these choices can require more wall space. A display model with different handles is not a complete test of the version you plan to install.
Use a width budget without mixing different clearances
An opening budget can be written as appliance width + left reserved space + right reserved space. Only insert clearance values taken from the applicable model instructions and configuration. Do not add an arbitrary wall allowance to both sides, or use the smallest number from two different manuals.
For a purely hypothetical calculation, a 36-inch-wide appliance with a specified 2½-inch wall-side reservation and a specified ½-inch reservation opposite would need 39 inches across those components. That is 99.06 cm. In a 40-inch opening, the remaining inch is total surplus, not an extra inch on both sides.
That example is not the required opening for either refrigerator in the table. Built-in openings, panels and installation details must come from the built-in documentation. The arithmetic simply shows how to avoid double-counting or forgetting a side reservation. Also check height and depth independently; spare width does not cure a door that cannot swing.
Check more than a 90-degree door opening
Ask what door position is needed to use and remove the drawers on the exact model. Being able to reach food with a partly open door is different from sliding out a wide drawer or removing a shelf for cleaning. Do not infer drawer removal from an exterior door-open depth dimension alone.
At a showroom, compare the actual handle and bin layout with your chosen configuration. Ask staff to demonstrate normal drawer access at the opening angle allowed by your wall. Use the manufacturer’s diagram and your measurements to assess the room; do not push the display door into an obstruction to simulate a limit.
If a side wall reaches beyond the appliance’s front, explain that clearly to the dealer or installer. A photo accompanied by measured wall projection is more useful than saying that the fridge will be “in a corner.” Seek a written fit clarification when the drawings do not answer the specific obstruction.
Make a buy, recheck or reject decision
A promising fit has documented clearances, a verified opening, a door sweep free of obstructions and usable interior storage. A recheck is appropriate when a handle option is undecided, the manual covers multiple variants or your measurement is almost equal to the limit. A failed measurement should remain a failure until the plan or product changes.
Do not solve a conflict by reducing a specified gap, squeezing the appliance farther back or assuming a different handle can be fitted. Have the manufacturer or installer confirm any alternate arrangement. This guide does not cover appliance connection, cabinet alteration or installation work.
- Copy the complete model and revision details.
- Use its own opening and door-swing drawings.
- Measure wall projection, trim and handle interference.
- Check drawer use and removal, not only door opening.
- Confirm panel and handle choices before final measurements.
- Check the delivery route as a separate requirement.
Frequently asked refrigerator wall-fit questions
Is 2½ inches enough beside every refrigerator? No. Even the cited document that uses that figure warns that some models need more. It is not a universal rule for Whirlpool appliances or other brands.
Does a counter-depth refrigerator avoid this issue? The label does not establish hinge geometry, handle projection or drawer access. Read the exact door-swing drawing and compare it with the wall.
Why not use 4½ inches everywhere to be safe? A larger guess is still a guess. Some configurations need different space, and a built-in opening has requirements that cannot be reduced to one side gap. Use the applicable instructions.
Can I rely on the showroom opening test? It is useful when the model, panels and handles match. Your room measurements and the current installation documents still control the actual placement.
Source mapping and verification notes
Sources checked October 5, 2026: KitchenAid KBFN536TPA/KBFN542TPA installation instructions W11807247A; Whirlpool owner’s manual W11608713B, returned for WRF535SWHZ by Whirlpool’s official product literature listing. Always check the documentation supplied with your unit if its revision differs.
The illustration is an original schematic, not a manufacturer hinge drawing. The 36-inch appliance calculation is hypothetical and is not a fit certification for a named model. We did not conduct a physical door or drawer test.